
If yourself, or you tot has Coeliac Disease or suffers from a gluten intolerance, you’ll know how expensive gluten-free food can be. This is set to change as supermarket giant Aldi releases the news of its first gluten-free range, thought to cost 30% less than more expensive rivals.
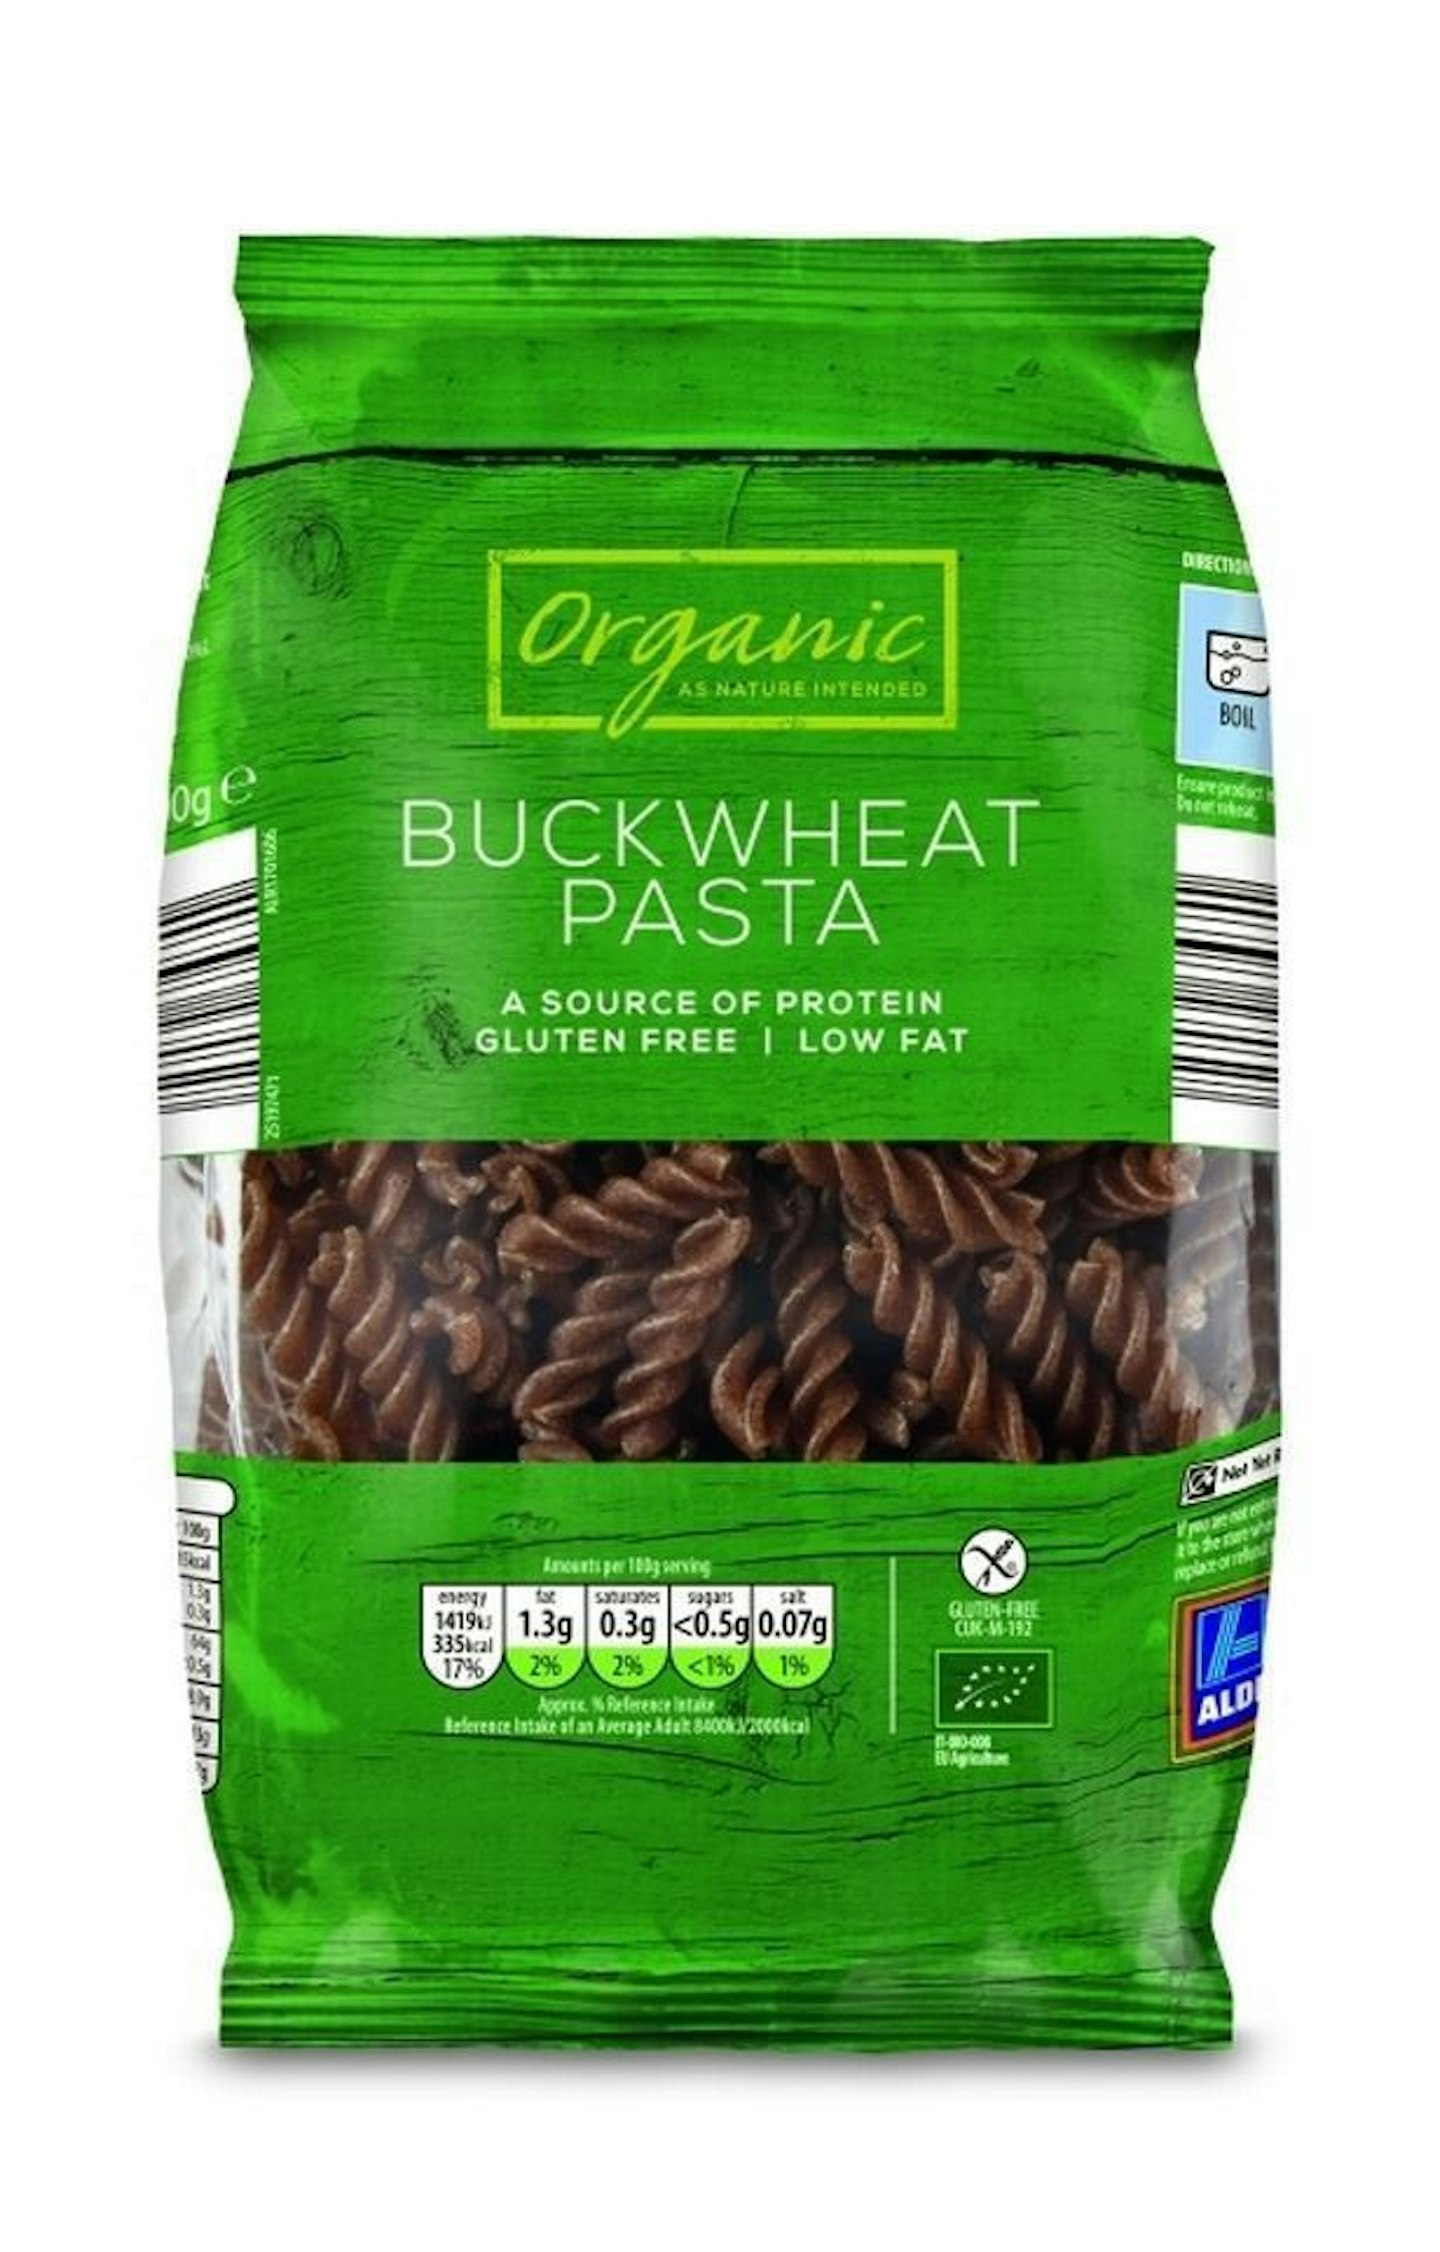
Gluten-free fans get ready to drool at the selection of gluten-free pastas on offer, including red lentil penne and green pea fusilli pasta, all priced at £1.69. Any mum will know coloured food is often a hit at dinnertime, so these an exciting development for those with gluten-fee tots.
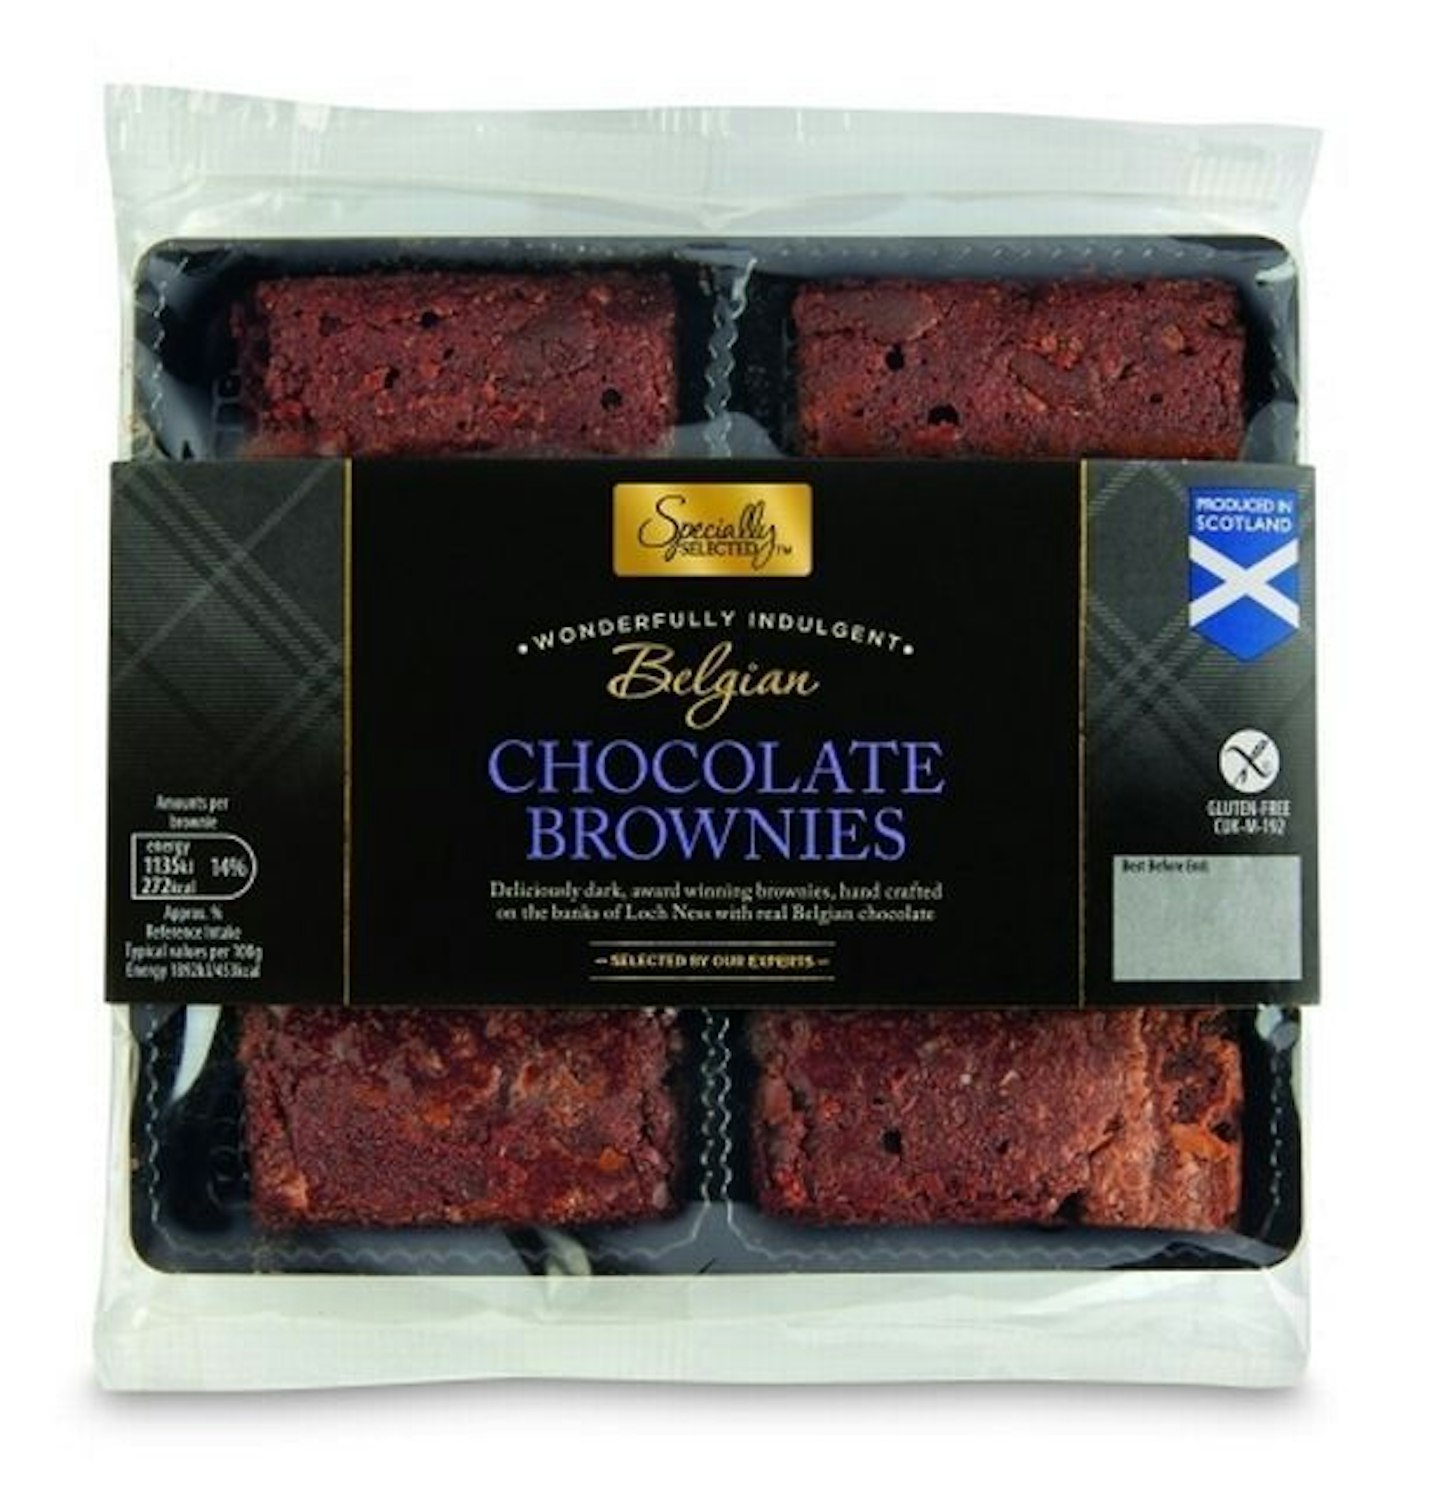
The range also includes Indian curry kits priced at £1.99, gluten-free chocolate brownies at £1.59 and quinoa bars at £1.69 for four. Although gluten-free food is widely available at other rival supermarkets, these prices are much lower.
Joint Managing Director of Corporate Buying at Aldi UK said on this development: ‘Whether it’s out of choice of necessity, buying and eating gluten-free foods shouldn’t come at an increased cost to families. With the ever-changing dietary needs of our customers, it’s our ambition to always meet those needs with a full range of products, at unbeatable prices.’
What do you think of this news? Let us know in the comments below.
Read next: How to spot a gluten intolerance in your child
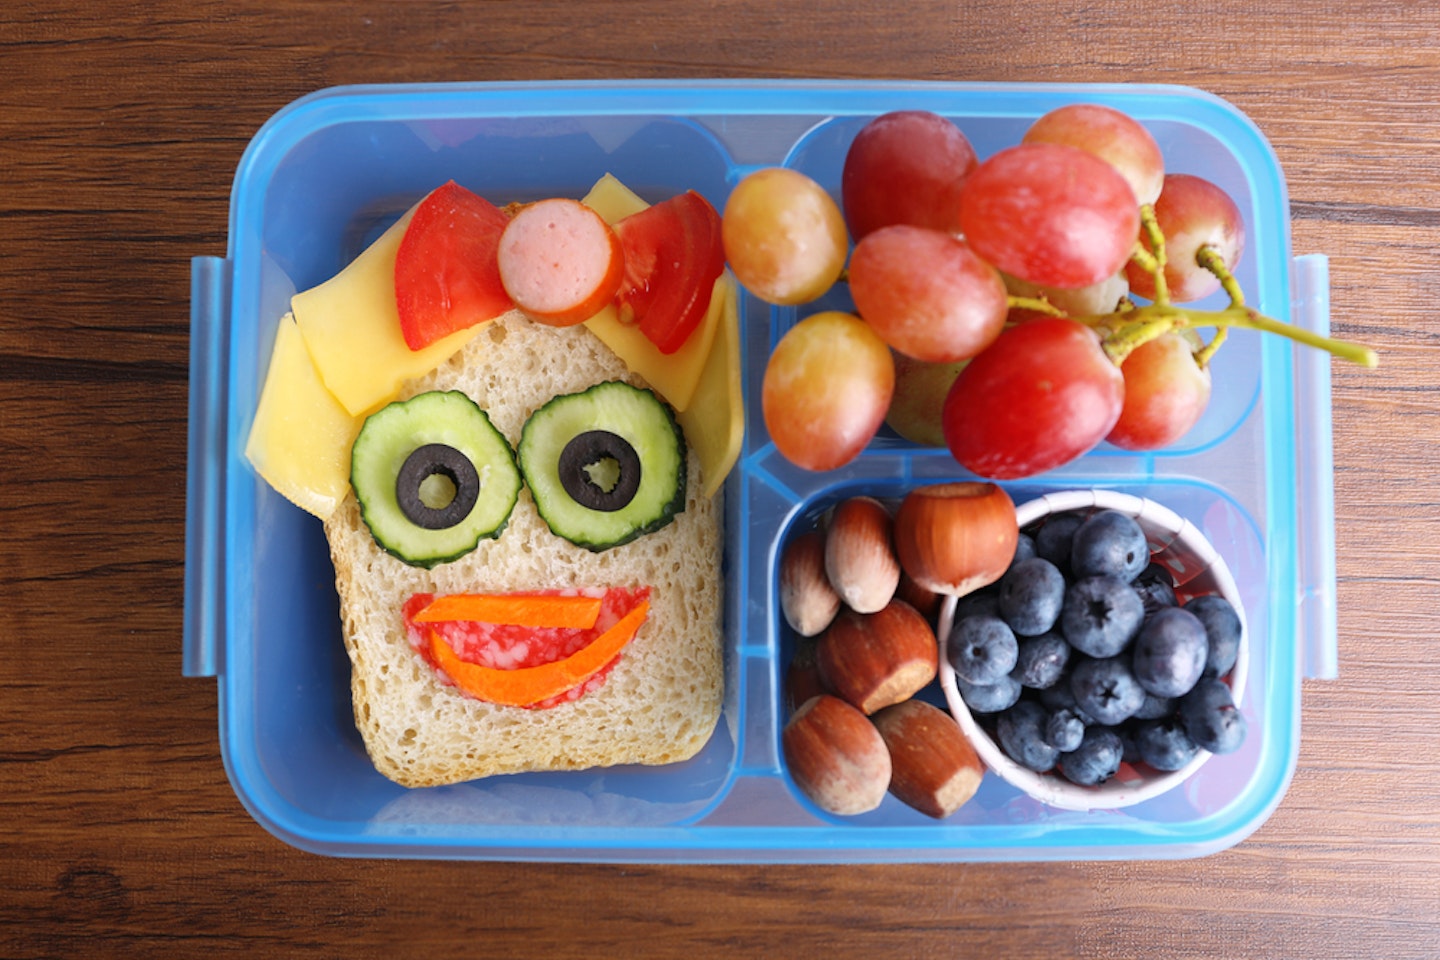
Read next: 16 packed lunch ideas for your little one’s lunchbox
16 Packed Lunch Ideas
 1 of 21
packedlunch
 2 of 21
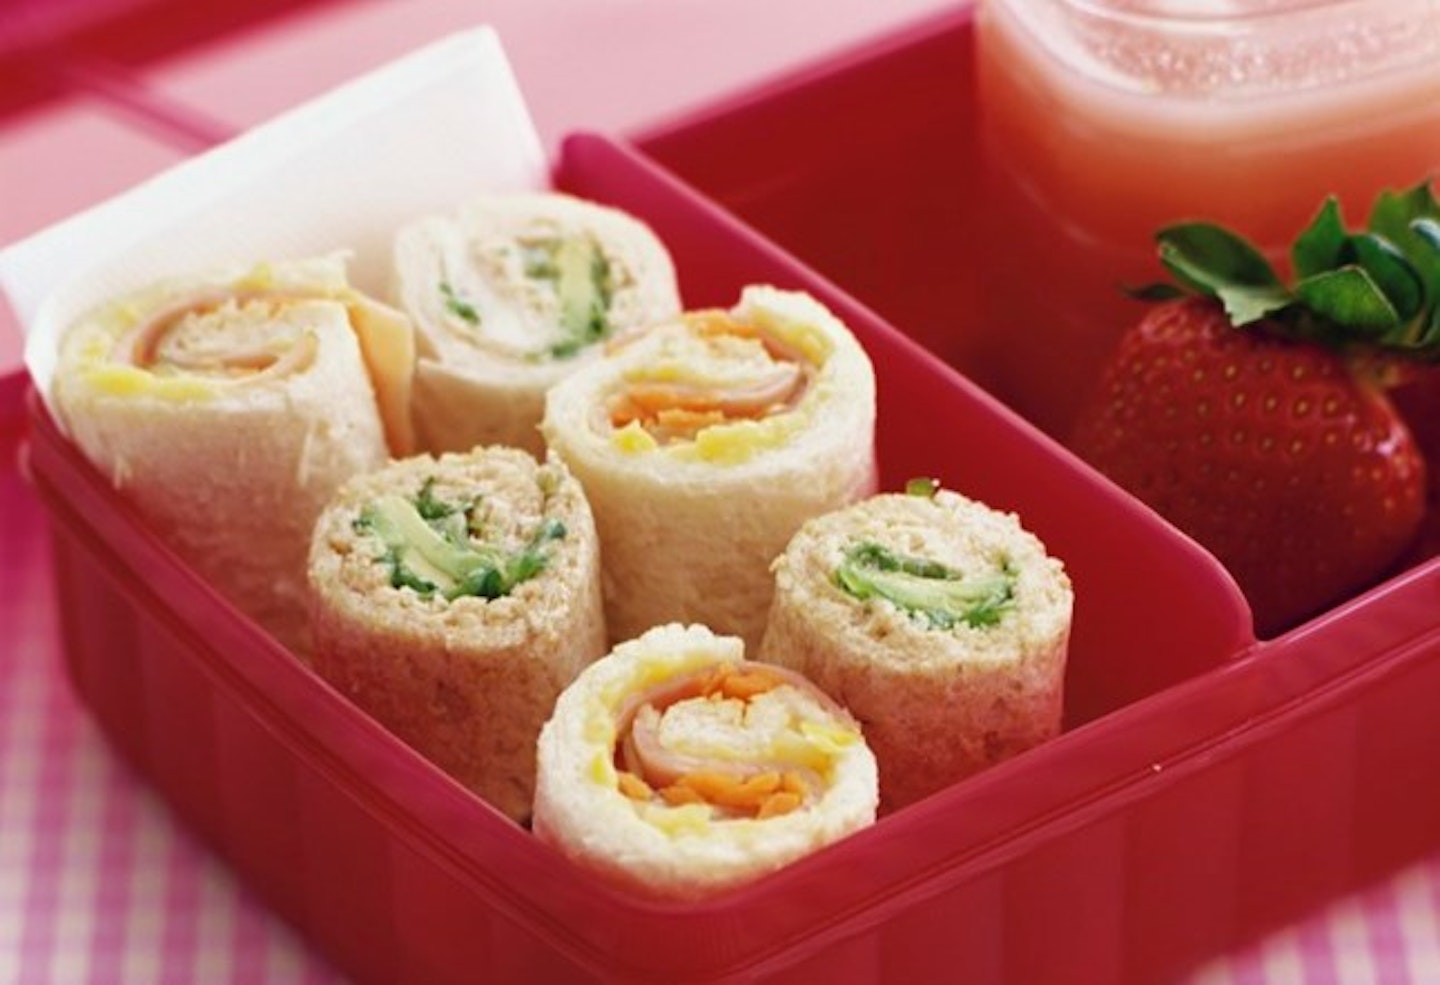
Sandwich sushi
Liven up your toddler’s sandwiches by cutting them into fun shapes, making pinwheels (by spreading the bread and then rolling it up and cutting into slices), or mixing and matching different coloured breads to make a chessboard-style sandwich. Try to include some form of protein – ham, chicken, cheese, tuna – as it will help your child feel fuller.
 3 of 21
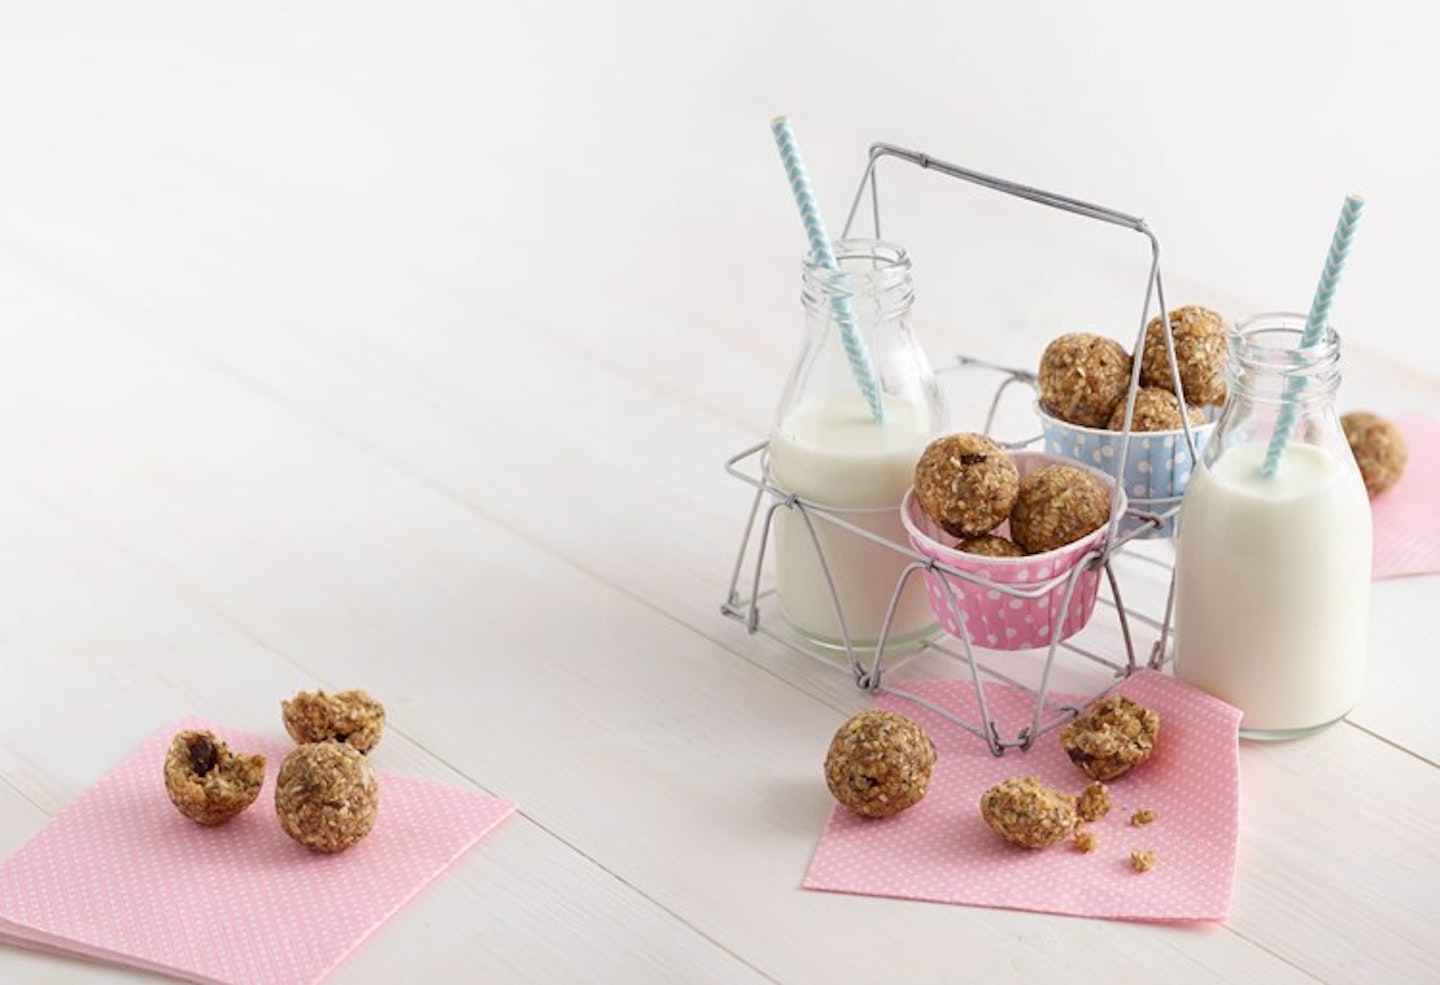
Mini energy balls
Who said energy balls had to be just be for those Instagram health bloggers? Packed with goodness, these mini energy balls by Annabel Karmel are perfect for little tummies. Taking just 20 minutes to prepare, however big the batch might seem at the time, they won’t be around for long.
 4 of 21
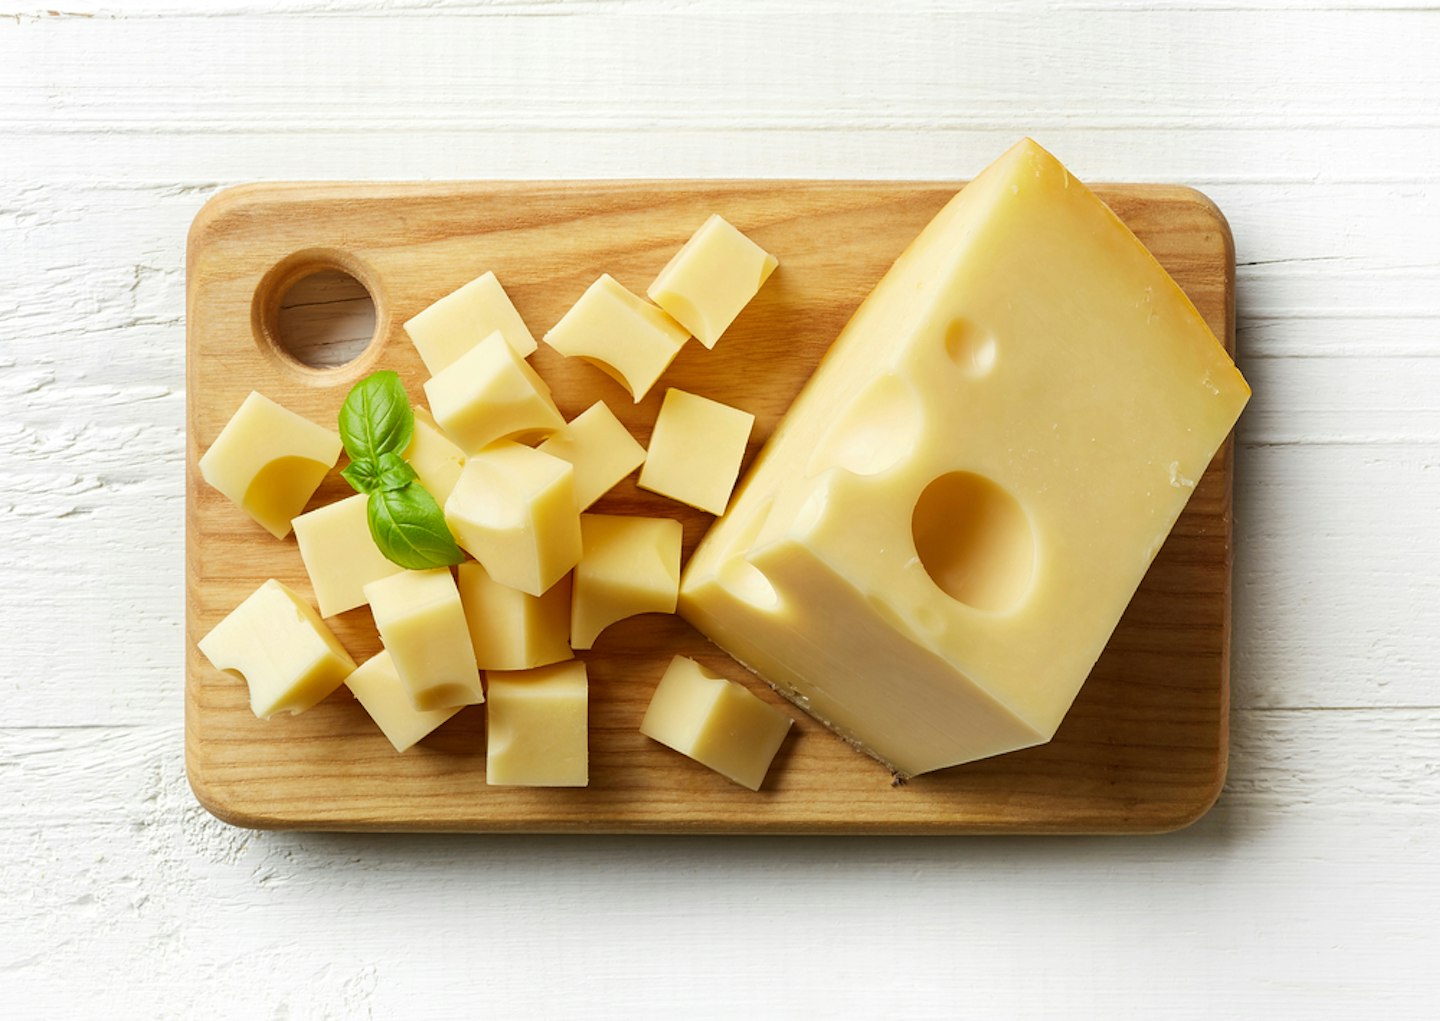
Cheese chunks
Slice up pieces of cheese (you can wrap them in foil to make them fun for your toddler to unwrap) or put a pre-wrapped cheese in, like Babybel or Cheestring.
 5 of 21
Grapes
A small bunch of seedless grapes is perfect for lunchboxes because they’re small and easy for your toddler to eat – no peeling necessary. They’re also high in fibre, so great for preventing constipation. For younger children, be sure to cut up the grapes into halves or quarters to prevent choking.
 6 of 21
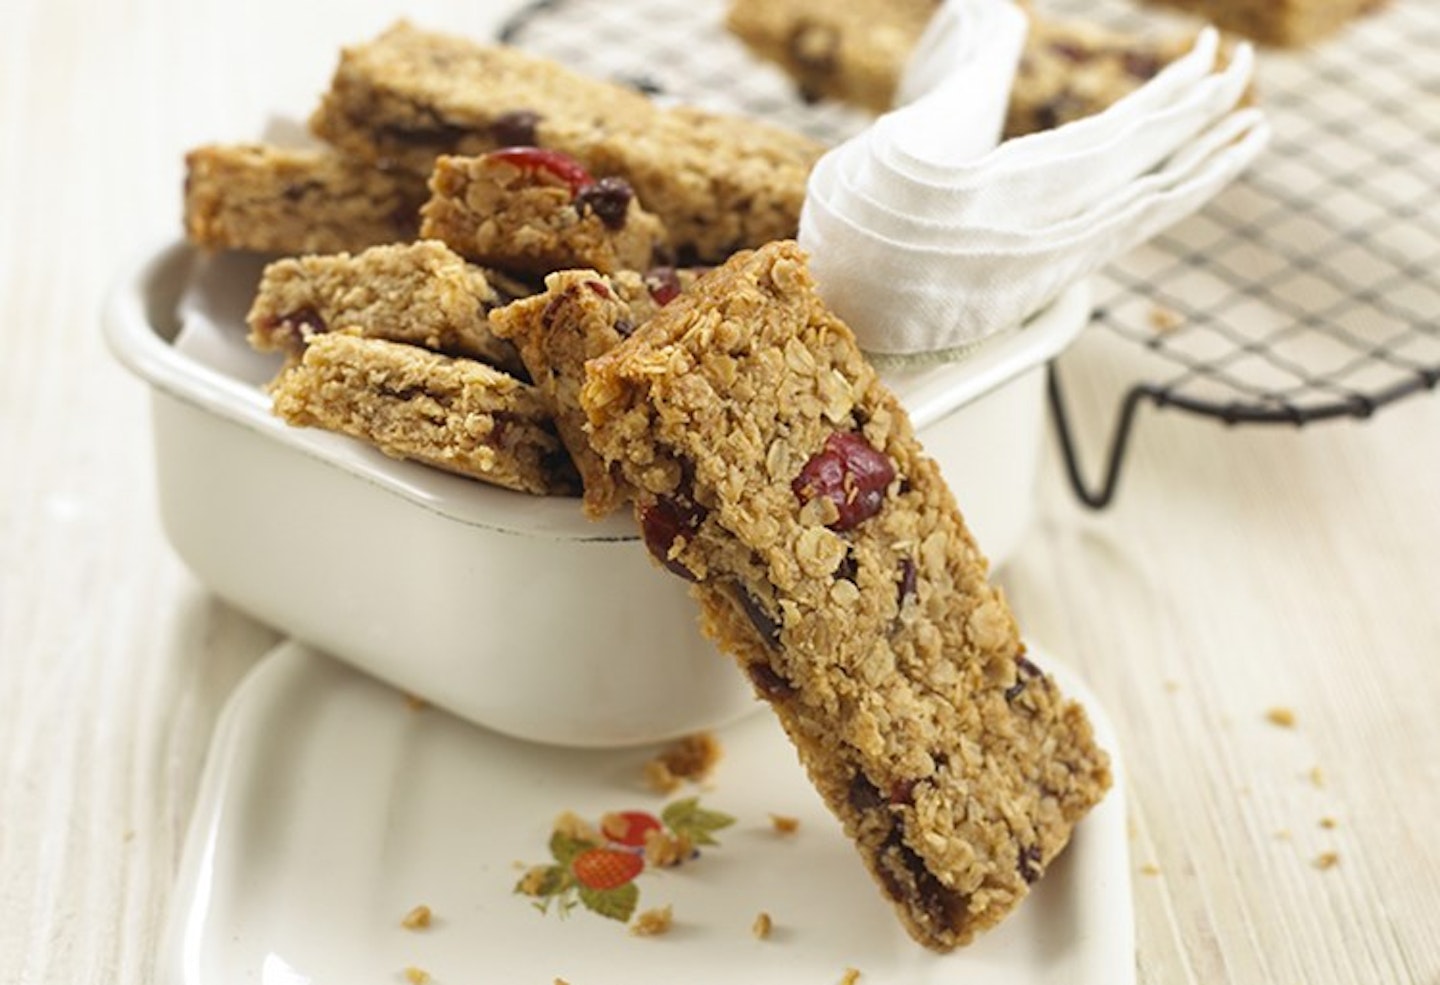
Flapjacks
Packed with oats, flapjacks are a great energy boost to add to your little one’s lunchbox. Why not try making your own (and save money on the shop bought variety)? These superseed flapjacks are quick and easy to make (and even quicker to disappear!)
 7 of 21
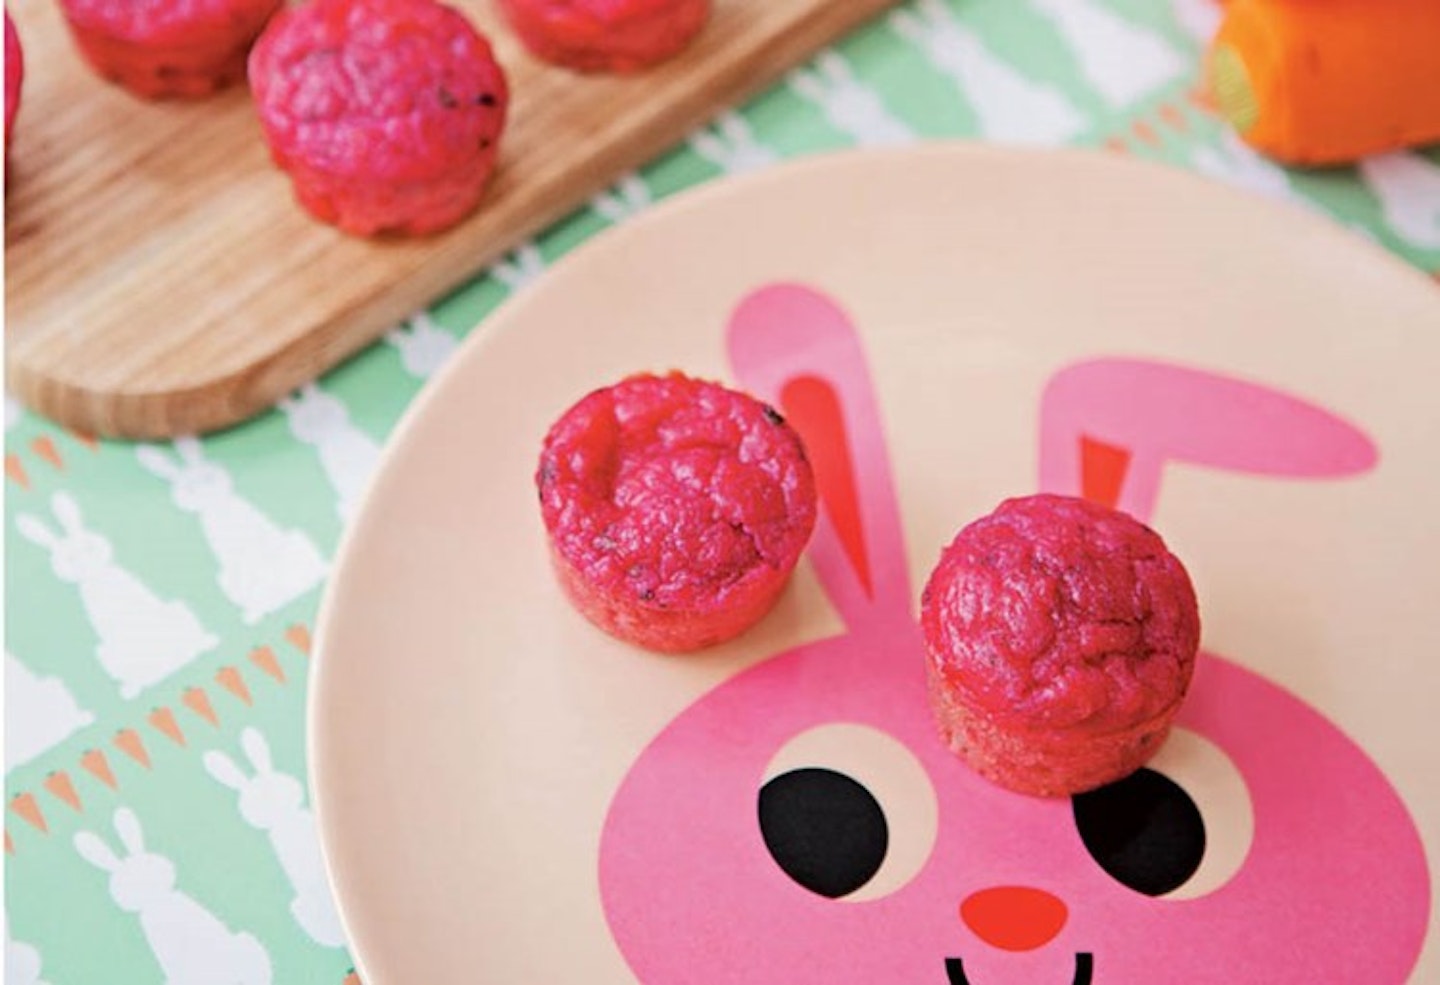
Mini muffins
A great option for little tummies, get creative with sweet or savory mini muffins for your tot. They’re bound to love these ruby red mini muffins by the team at Ella’s Kitchen, made from beetroot and feta, or try spinach and cheese for a more classic muffin.
 8 of 21
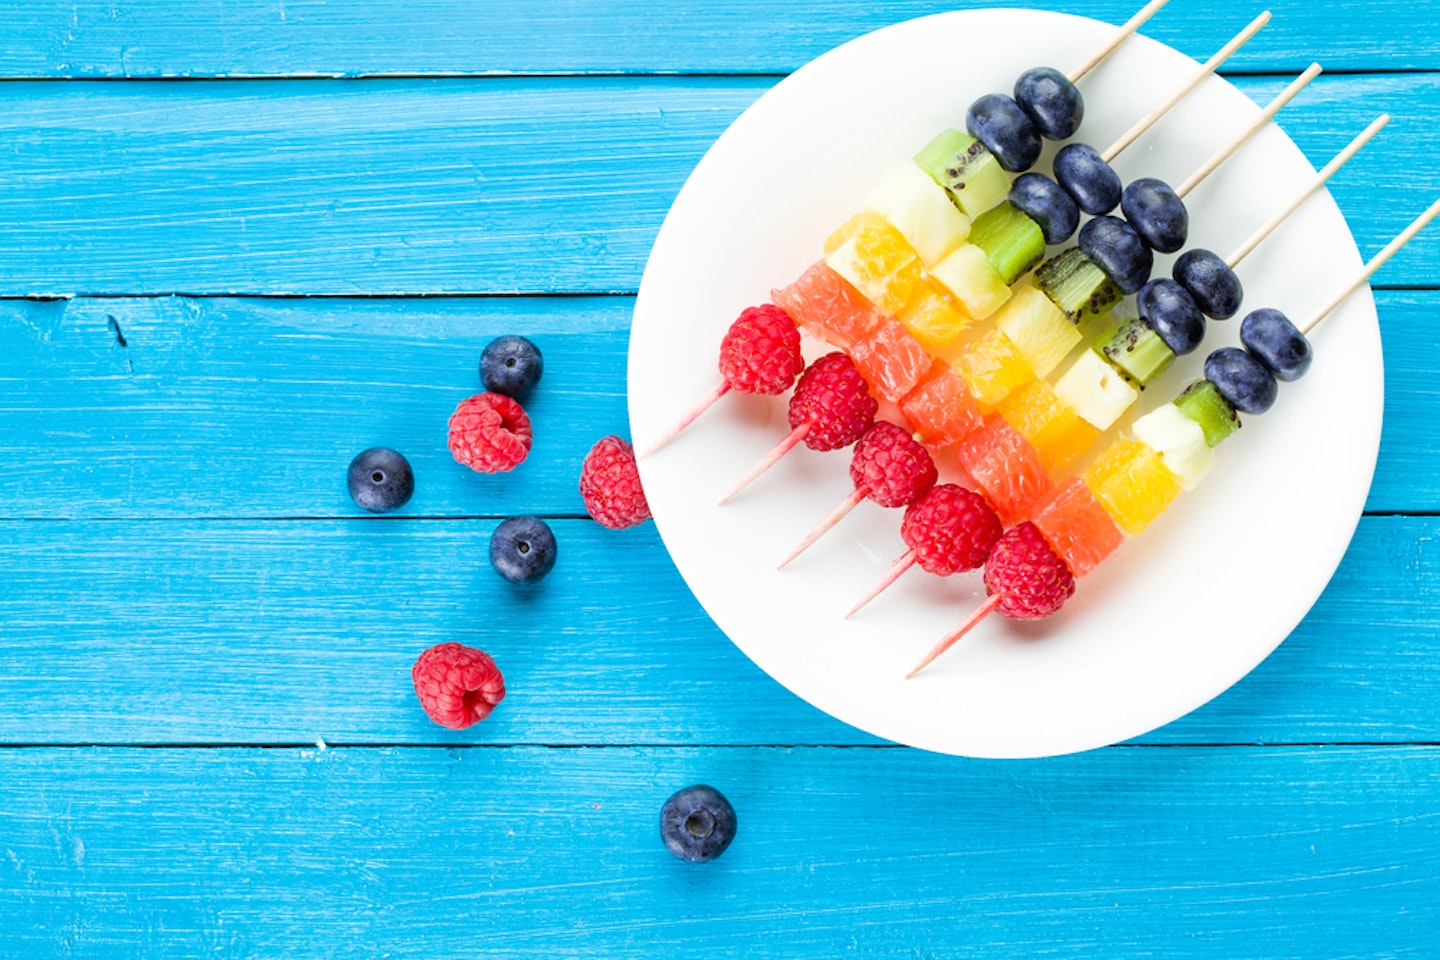
Fruit kebabs
Your little one will love sliding the chunks of fruit from the mini kebab. If you’re making this for your toddler, try threading strawberries, kiwi and grapes on a plastic straw (which is safer than a wooden kebab stick).
 9 of 21
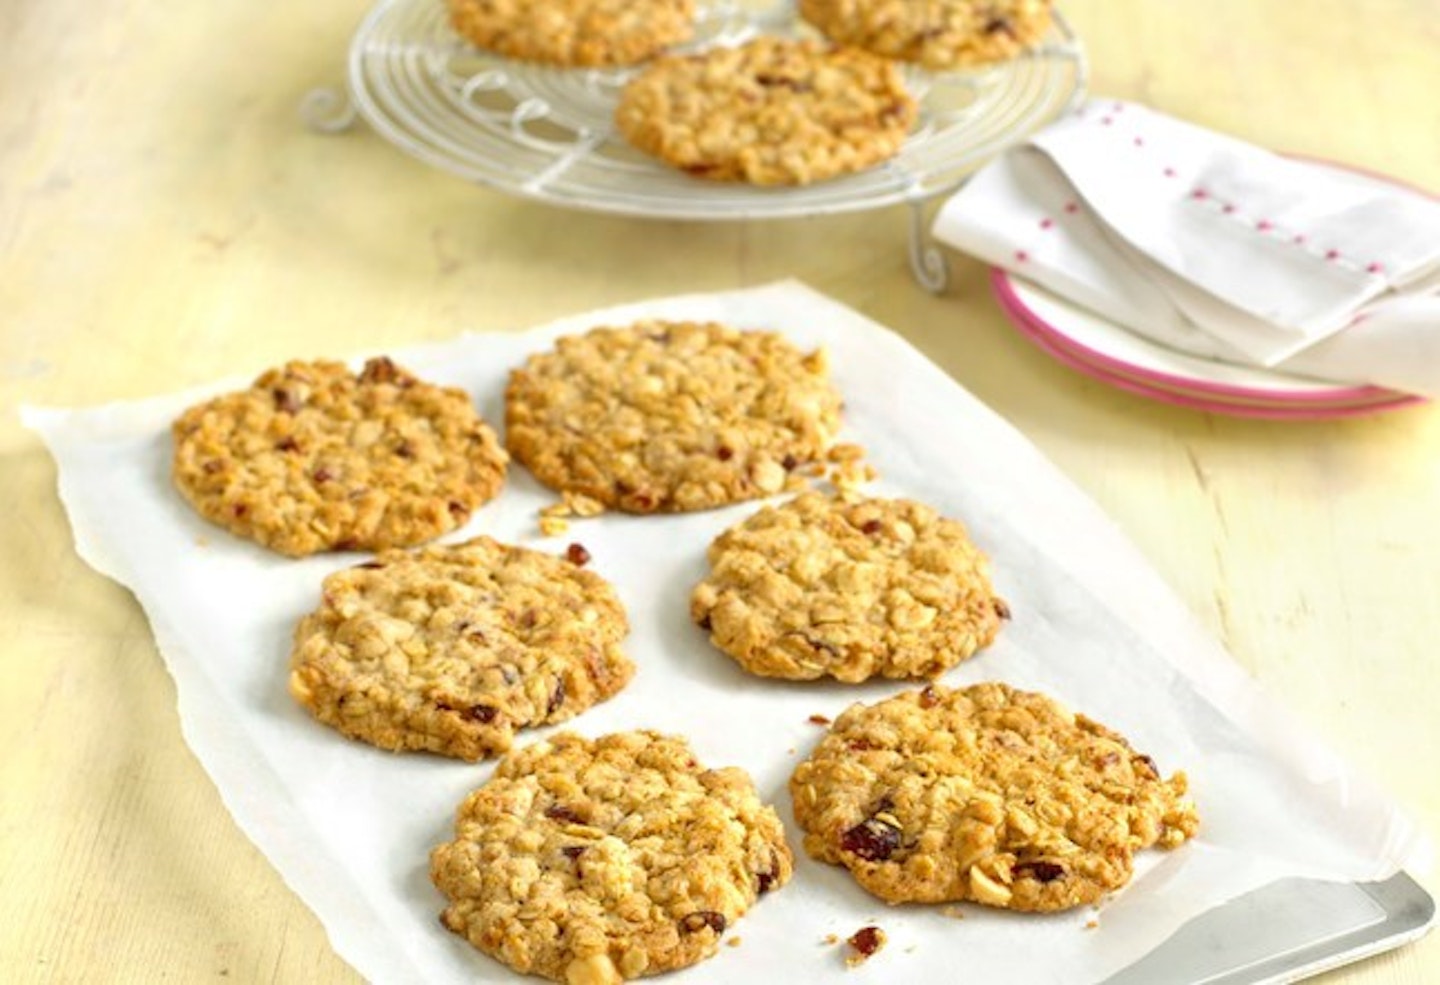
Cranberry and Hazelnut oat cookies
Another healthy alternative to sugary snacks, why not add some homemade cookies to your tot’s lunchbox? These cranberry and hazenut oat cookies are super easy to make (depending on the nursery school rules, you might want to bake without the hazelnuts). What’s more, why not get your little one in the kitchen with you and bake these at the weekend?
 10 of 21
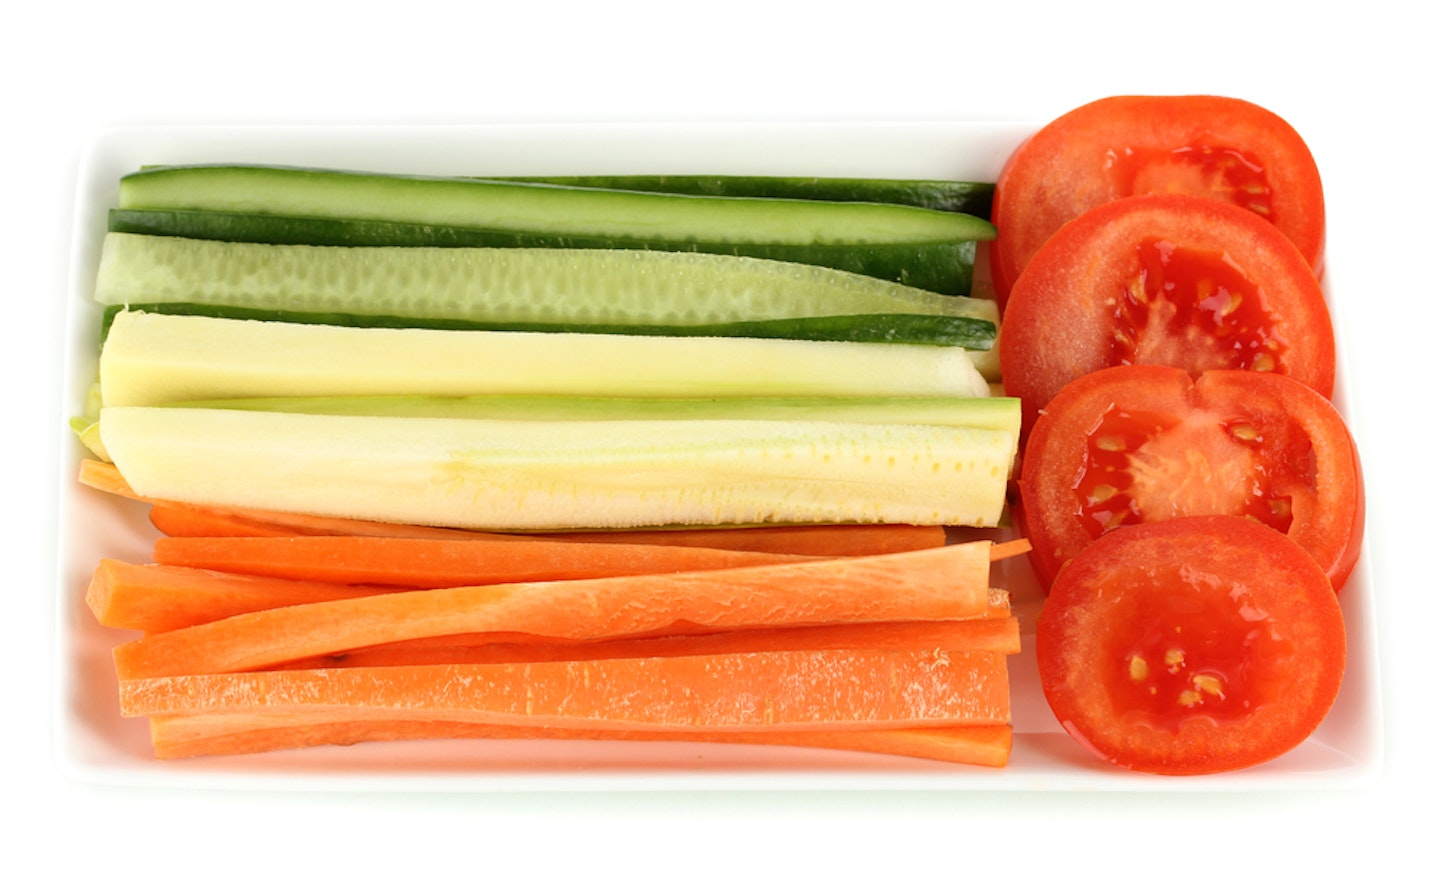
Vegetable batons
Slice up carrots, cucumber, pepper and celery for your toddler to nibble on. You could also include a mini pot of houmous or cream cheese for him to dip them in.
 11 of 21
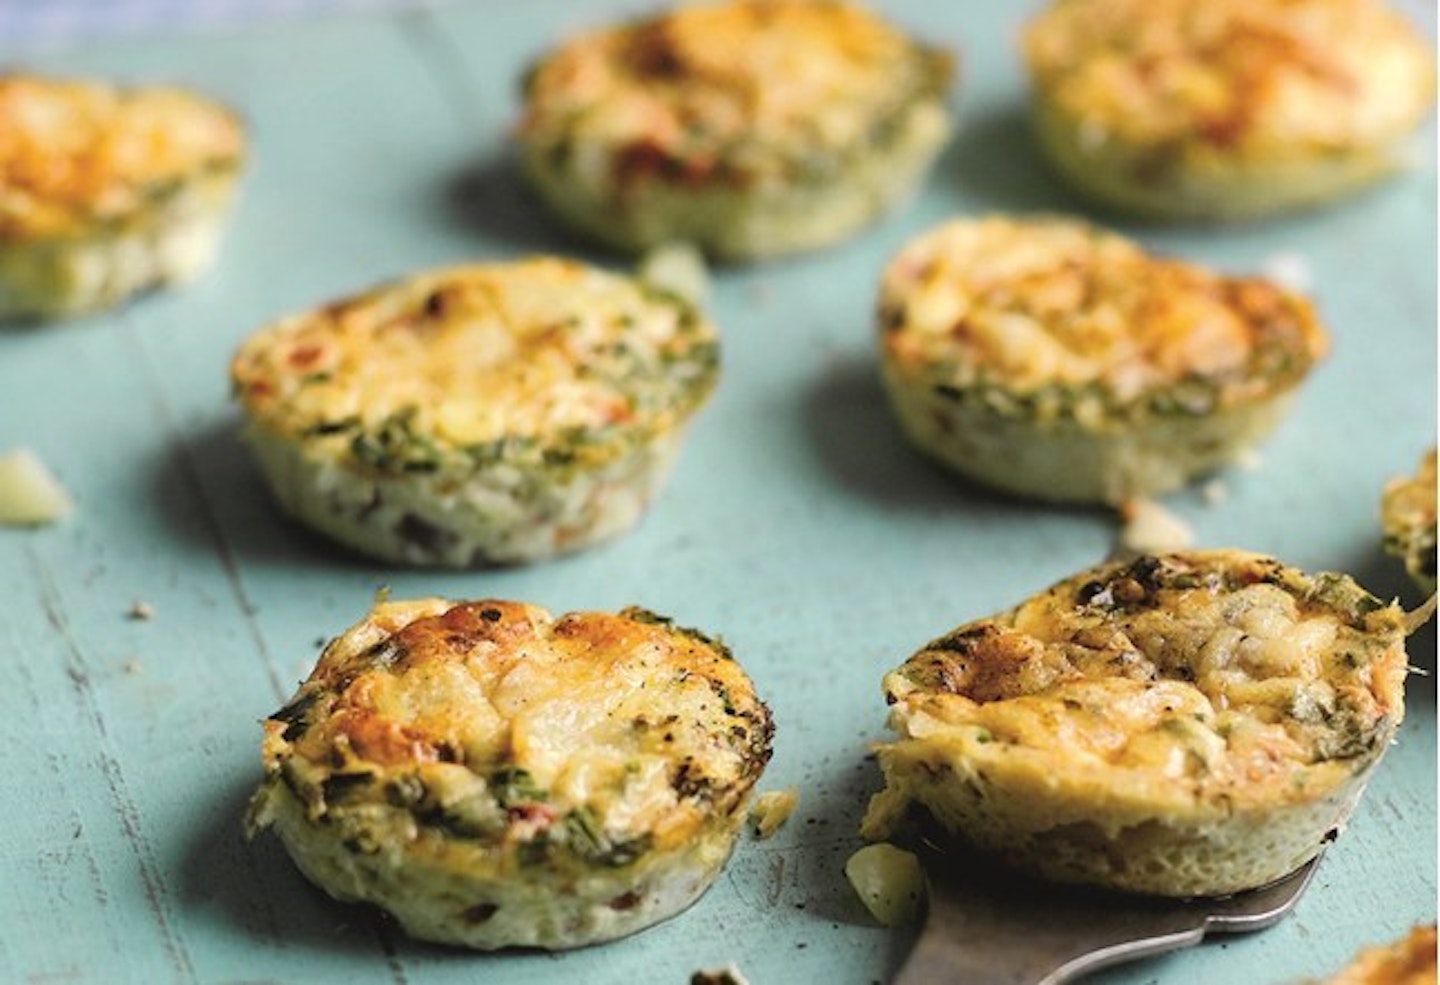
Mini cheese and potato frittatas
Leftovers can work well in your toddler’s lunchbox now and again, especially if it can be served cold. Go for foods such as quiche or frittata as they can be cut into slices and wrapped in a cling film or foil. This mini cheese and potato frittata recipe is a great option to try for lunch and dinner.
 12 of 21
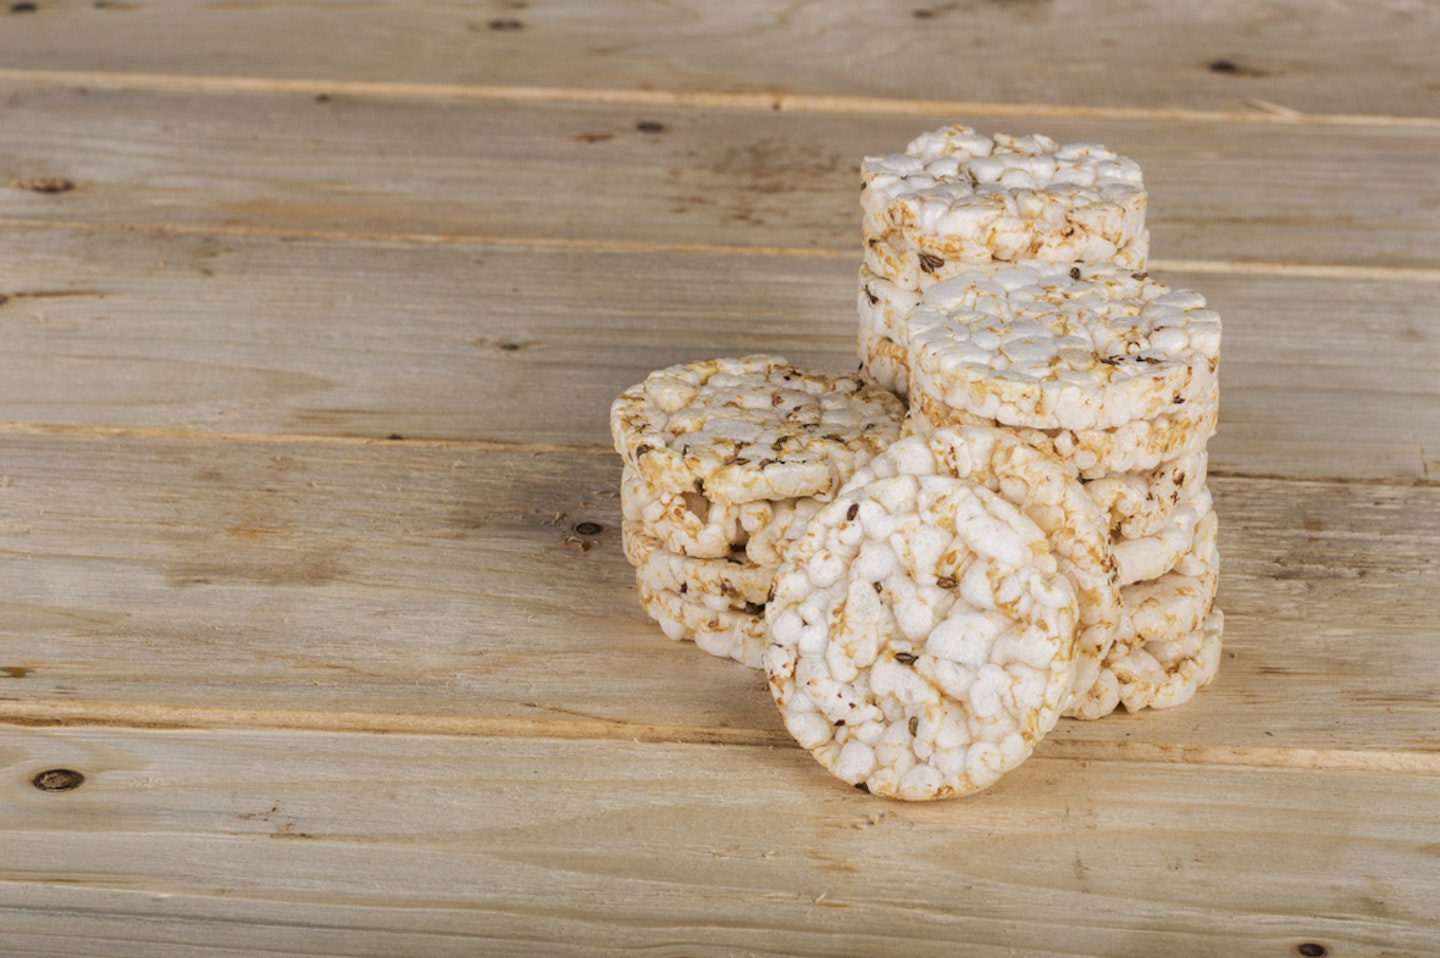
Mini rice cakes
Much healthier than crisps, add a pack of mini rice cakes to your little one’s lunchbox. If they find them a little dull, why not try introducing a flavoured variety.
 13 of 21
Overnight Oats
Another one that’s super easy to prepare the evening before, whilst also being nutritious in a packed lunch box. Simply soak oats in yoghurt or milk in a small pot, include some fresh fruit or berries and leave in the fridge overnight. Just don’t forget to pack your little one a spoon!
 14 of 21
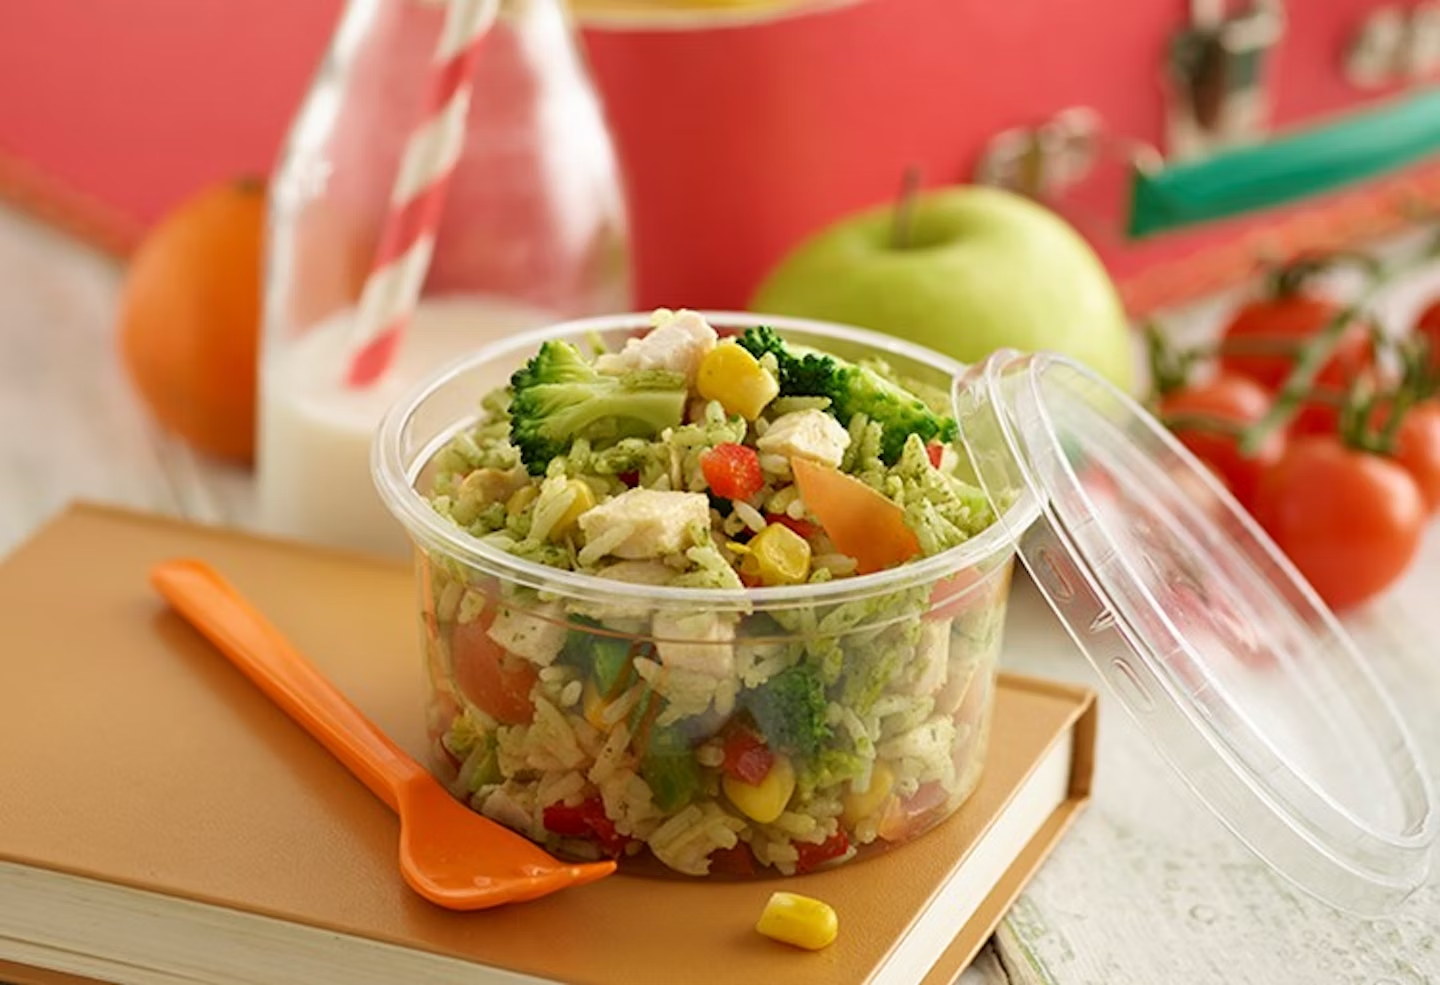
Pesto rice salad
If your toddler loves cheese as much as you do, why not try a cold pesto rice salad. A good leftover option to make a change from sandwiches, either make your own pesto or add a shop bought variety.
 15 of 21
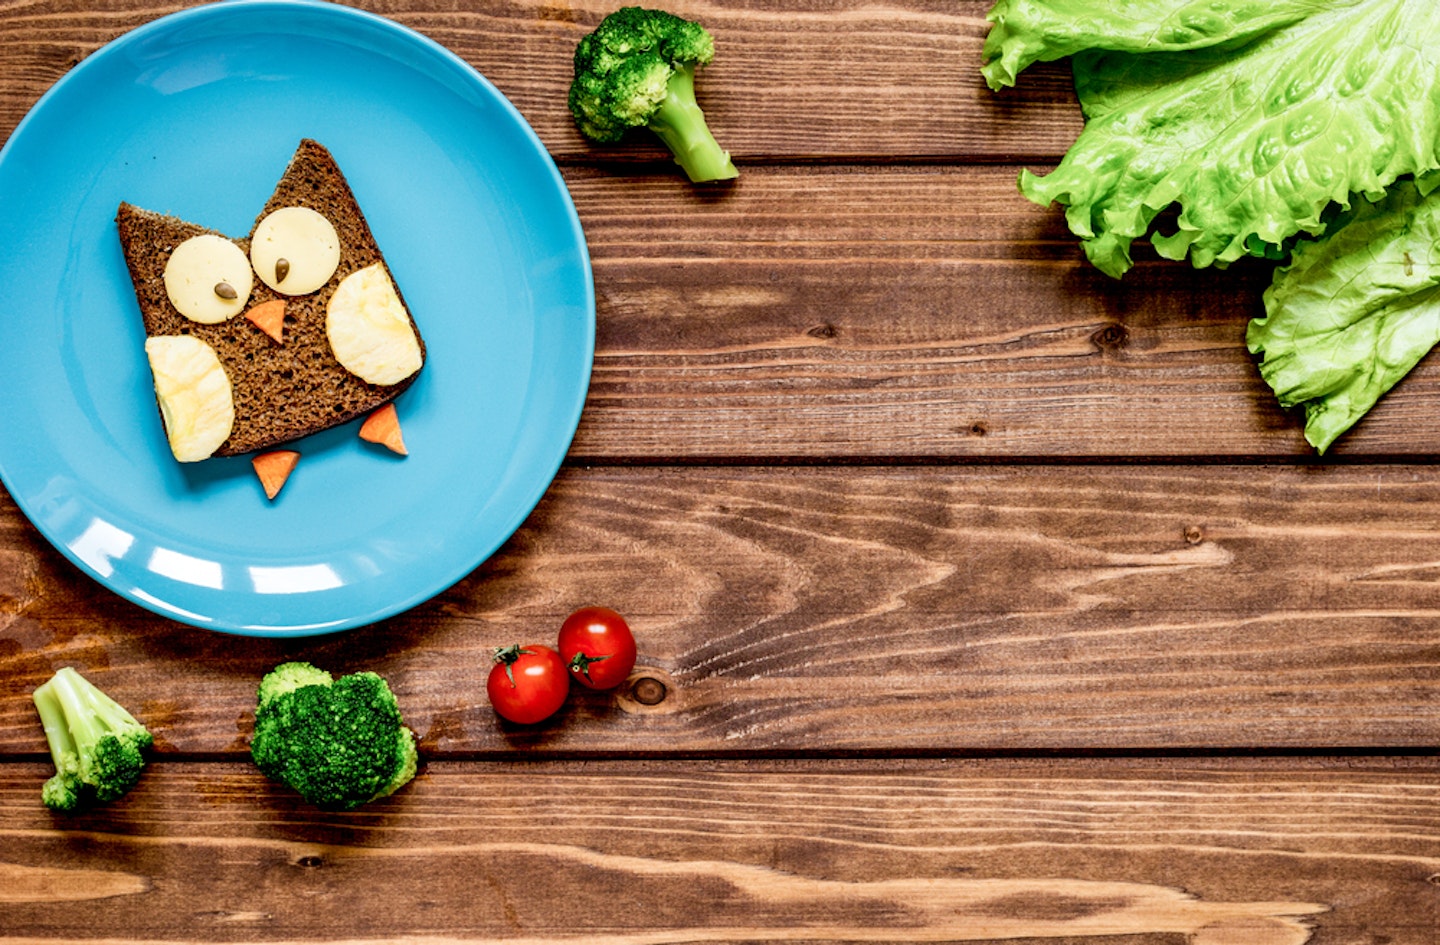
Sandwich shapes
A quick and easy way to make sandwiches more fun, use a cookie cutter to create cute shapes. Whether it’s a dog or a butterfly, keep your little one guessing and make lunchtime a surprise!
 16 of 21
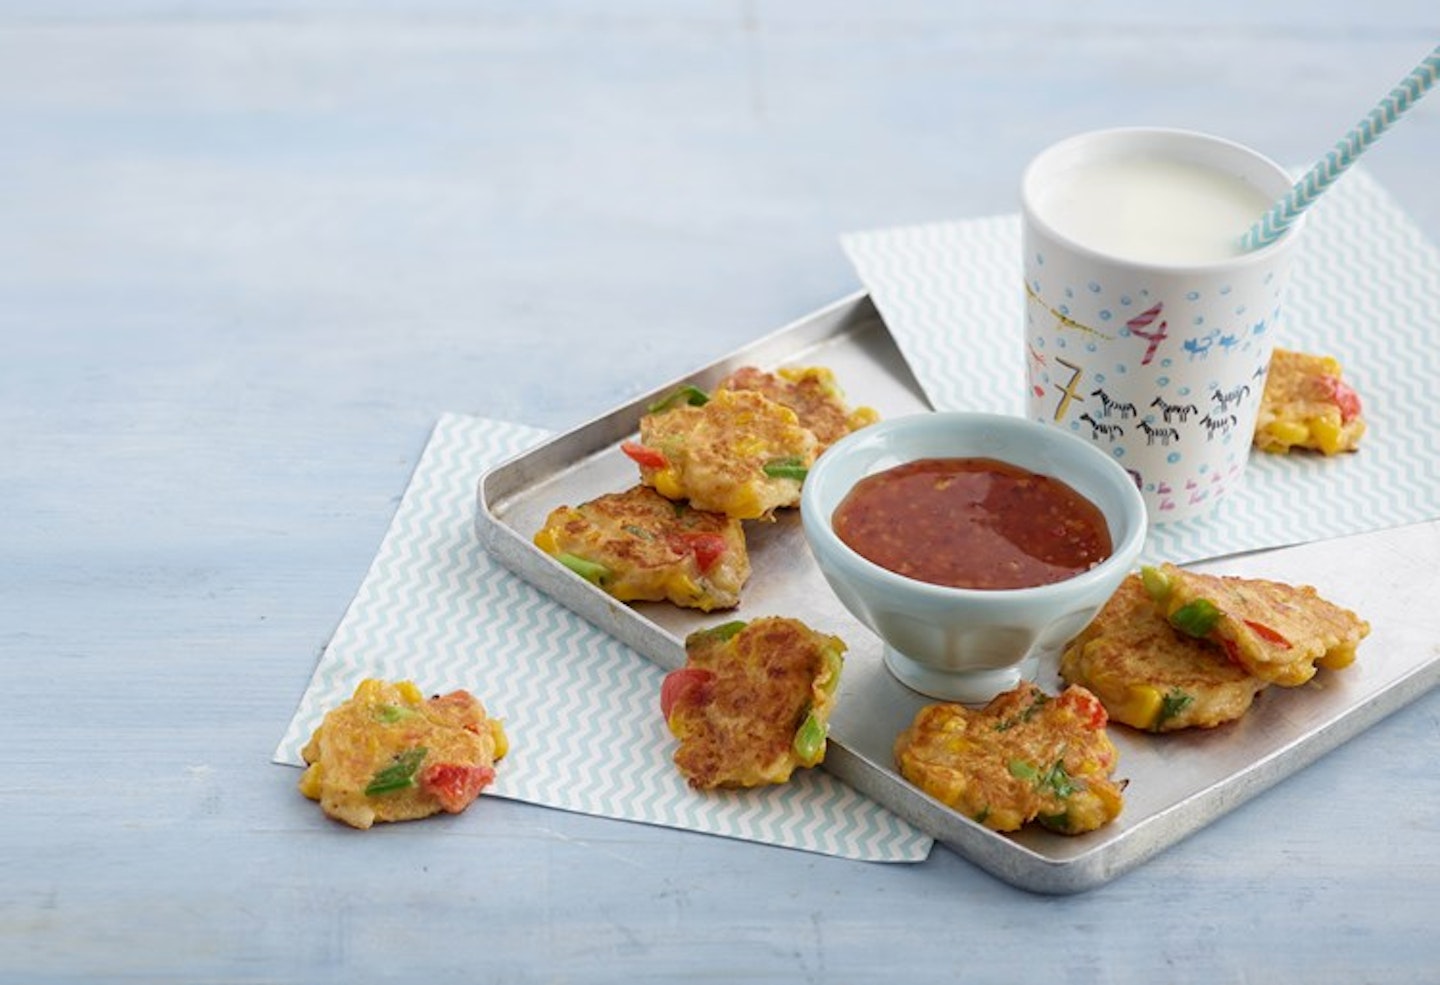
Sweetcorn fritters
Another leftover favourite, your little one is bound to love these bite sized sweetcorn fritters. Suitable from six months, they are also a good option if you’re looking for different baby-led weaning ideas.
 17 of 21
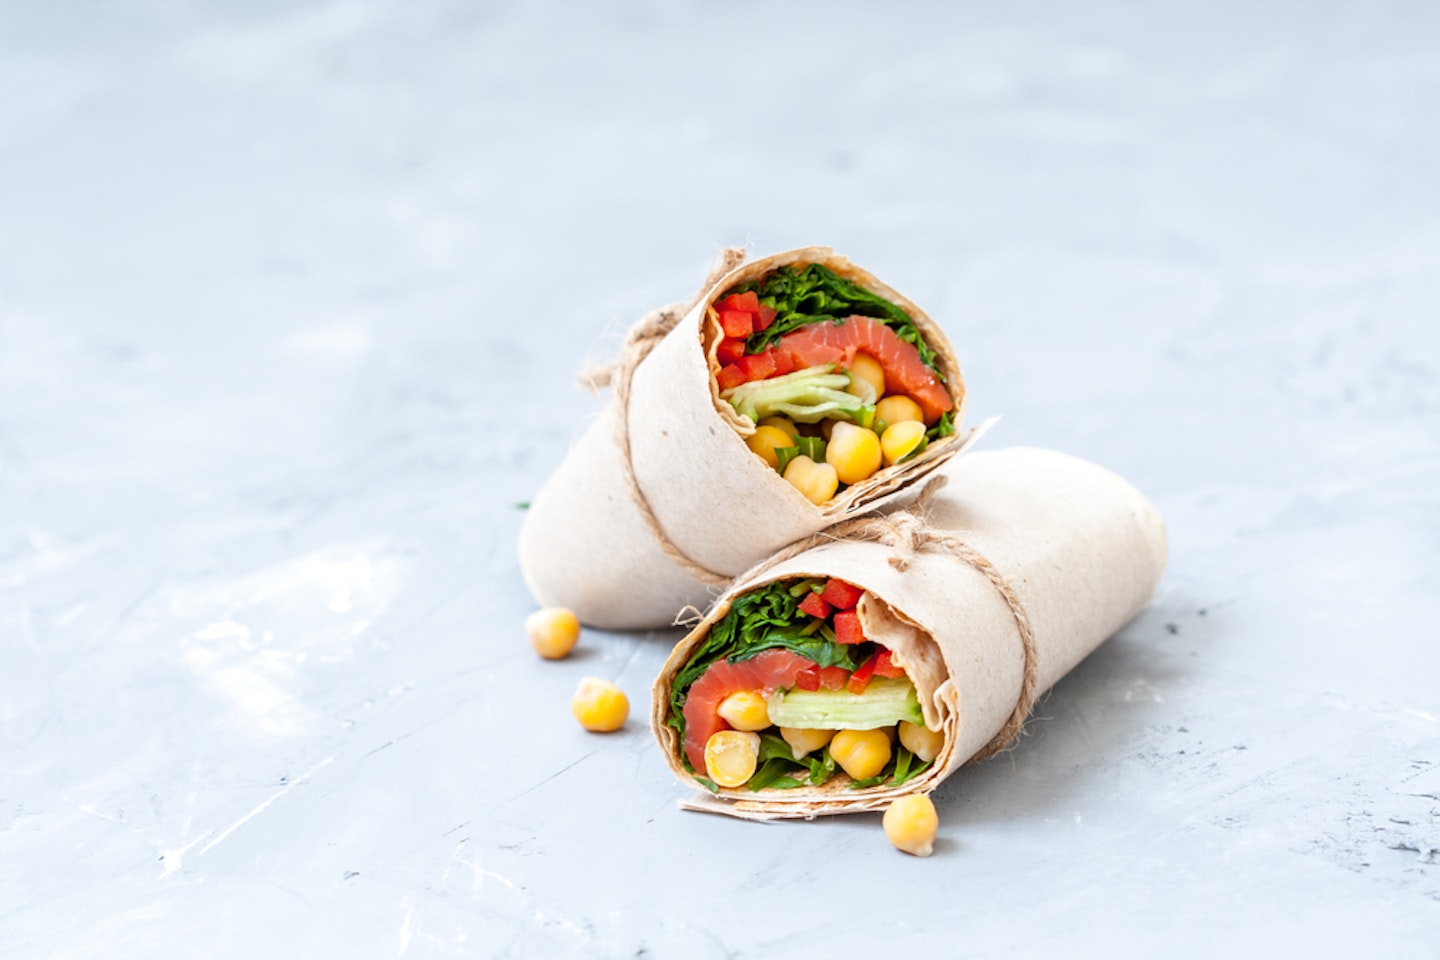
Tortilla wrap
Makes a change from sandwiches everyday, you can spread the tortilla with houmous and include chopped salad, ham and cheese. Wrap in foil so it stays together in your toddler’s lunchbox.
 18 of 21
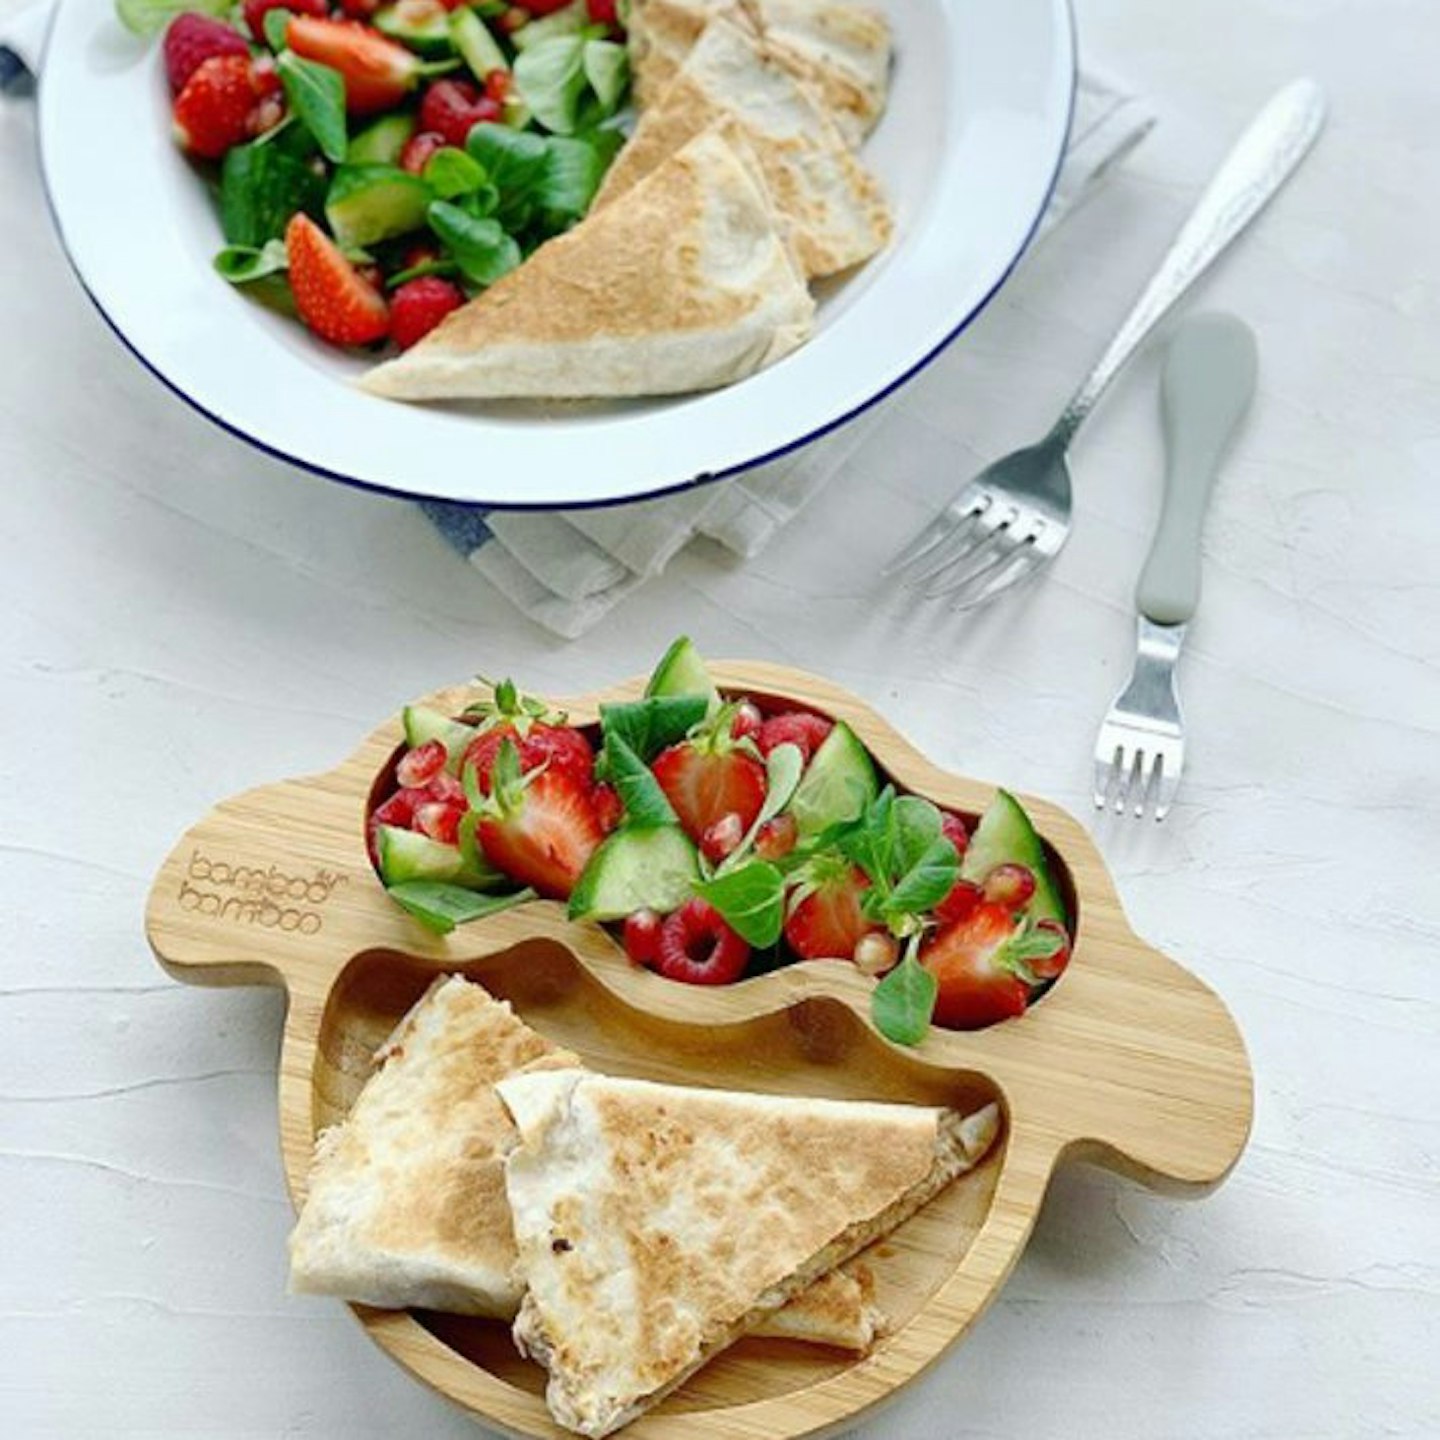
Easy Tuna Quesadilla
Quick, delicious and nutritious tuna quesadillas. This is an easy-to-make in 10 minutes lunch from What Mummy Makes. Packed with goodness, these yummy quesadillas are suitable for the whole family from the age of 6 months. They make great finger-food for little and large hands a-like.
⠀⠀⠀⠀⠀⠀⠀⠀⠀⠀⠀⠀⠀⠀⠀⠀
Makes 1 large quesadilla that will serve one little and 1 adult, ⠀⠀⠀
⠀⠀⠀⠀⠀⠀⠀⠀⠀
Ingredients: ⠀⠀⠀
• 105g tin of tuna in spring water ⠀⠀⠀
• Juice of quarter of a lemon ⠀⠀⠀
• 1 heaped tbsp of Greek yoghurt (can sub for plant based) ⠀⠀⠀
• Good grinding of black pepper
• Small handful of grated cheese (around 30g) - can sub for dairy free cheese or leave out ⠀⠀⠀
• 1 large tortilla wrap ⠀⠀⠀
⠀⠀⠀⠀⠀⠀⠀⠀⠀
Method: ⠀⠀⠀
-
Mix the drained tuna, yoghurt, pepper and lemon juice together in a bowl, then spoon onto one half of the tortilla wrap, spreading evenly.⠀⠀⠀
-
Sprinkle over the cheese then fold the other side over so you have a half moon shape. Press to seal the quesadilla together and even out the filling. ⠀⠀⠀
-
Pop into a medium- hot dry frying pan and cook for 2-3 minutes on each side until the tortilla has taken a lovely golden colour. ⠀⠀⠀
-
Transfer to a board and use a pizza cutter to slice into triangles. ⠀⠀⠀
⠀⠀⠀⠀⠀⠀⠀⠀⠀
Prep: 5 minutes - Cook: 5 minutes ⠀⠀⠀
Suitable from 6 months - the filling is really soft and the tortilla will soften as it cools ⠀⠀⠀
Can be frozen for 2 months. It will be a bit soggy when defrosted so reheat in the oven till piping hot all the way through and crispy on the outside. ⠀⠀⠀
⠀⠀⠀
 19 of 21
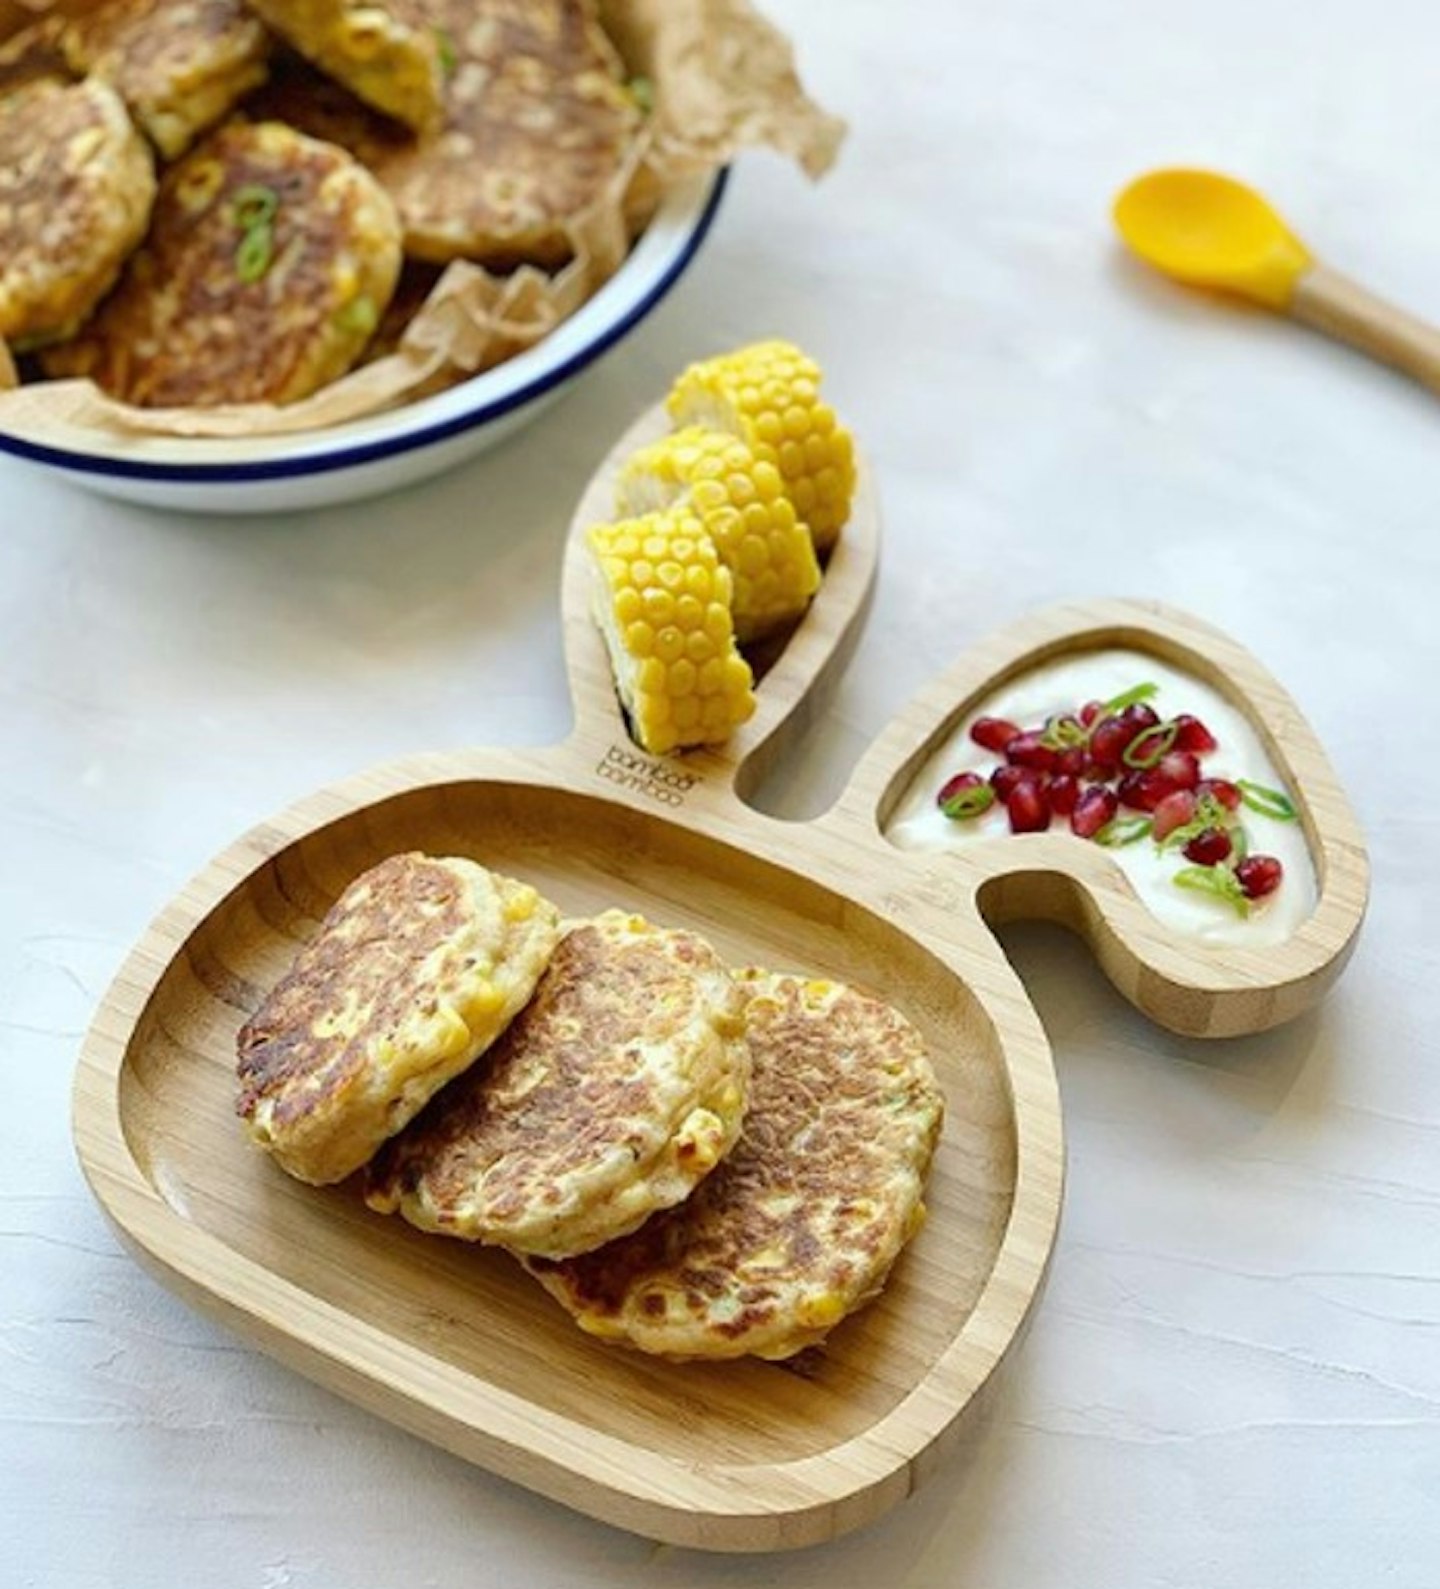
Tuna Fritters
Love the convenience of tinned tuna, but running out of recipe ideas? Try these yummy tuna sweetcorn fritters from What Mummy Makes. They’re so quick to whip together and these soft little fritters are a fab way to give fish to your baby. They also pack up well for meals on the go.
⠀⠀⠀⠀⠀⠀⠀⠀⠀⠀⠀⠀⠀⠀⠀⠀⠀⠀
Ingredients: ⠀⠀
• 90g of self-raising flour ⠀⠀
• 2 eggs (can sub for 2 flax eggs which would be 2 tablespoons of ground flax seeds and 5 tablespoons of water)⠀⠀
• 70ml of whole milk ⠀⠀
• 1 tin of tuna in spring water - drained ⠀⠀
• 1 teaspoon of baking powder ⠀⠀
• 200g of tinned sweetcorn (drained) ⠀⠀
• 60g of grated cheddar cheese (optional) ⠀⠀
• A good grinding of black pepper ⠀⠀
• 1 spring onion finely sliced ⠀⠀
⠀⠀⠀⠀⠀⠀⠀⠀⠀⠀⠀⠀⠀⠀⠀⠀⠀⠀⠀
Method: ⠀⠀
- Add all the ingredients to a bowl and stir till combined.
- Fry tablespoon sized amounts of the mixture in a non stick pan with a little drizzle of oil, for a couple of minutes on each side. Keep the heat to a medium so the fritters cook through without burning on the outside. ⠀⠀⠀
⠀⠀⠀⠀⠀⠀⠀⠀⠀⠀⠀⠀⠀⠀⠀⠀⠀⠀⠀
Prep 5 mins - Cook - 10 minutes ⠀⠀
Suitable from 6 months. Cut into strips if serving to babies under a year old. ⠀⠀
Store in the fridge for a couple of days. These fritters also freeze well for up to 2 months. Store with a piece of baking paper in between each fritter to prevent them sticking together. Bung in the microwave from frozen for 2 minutes till piping hot.⠀⠀
 20 of 21
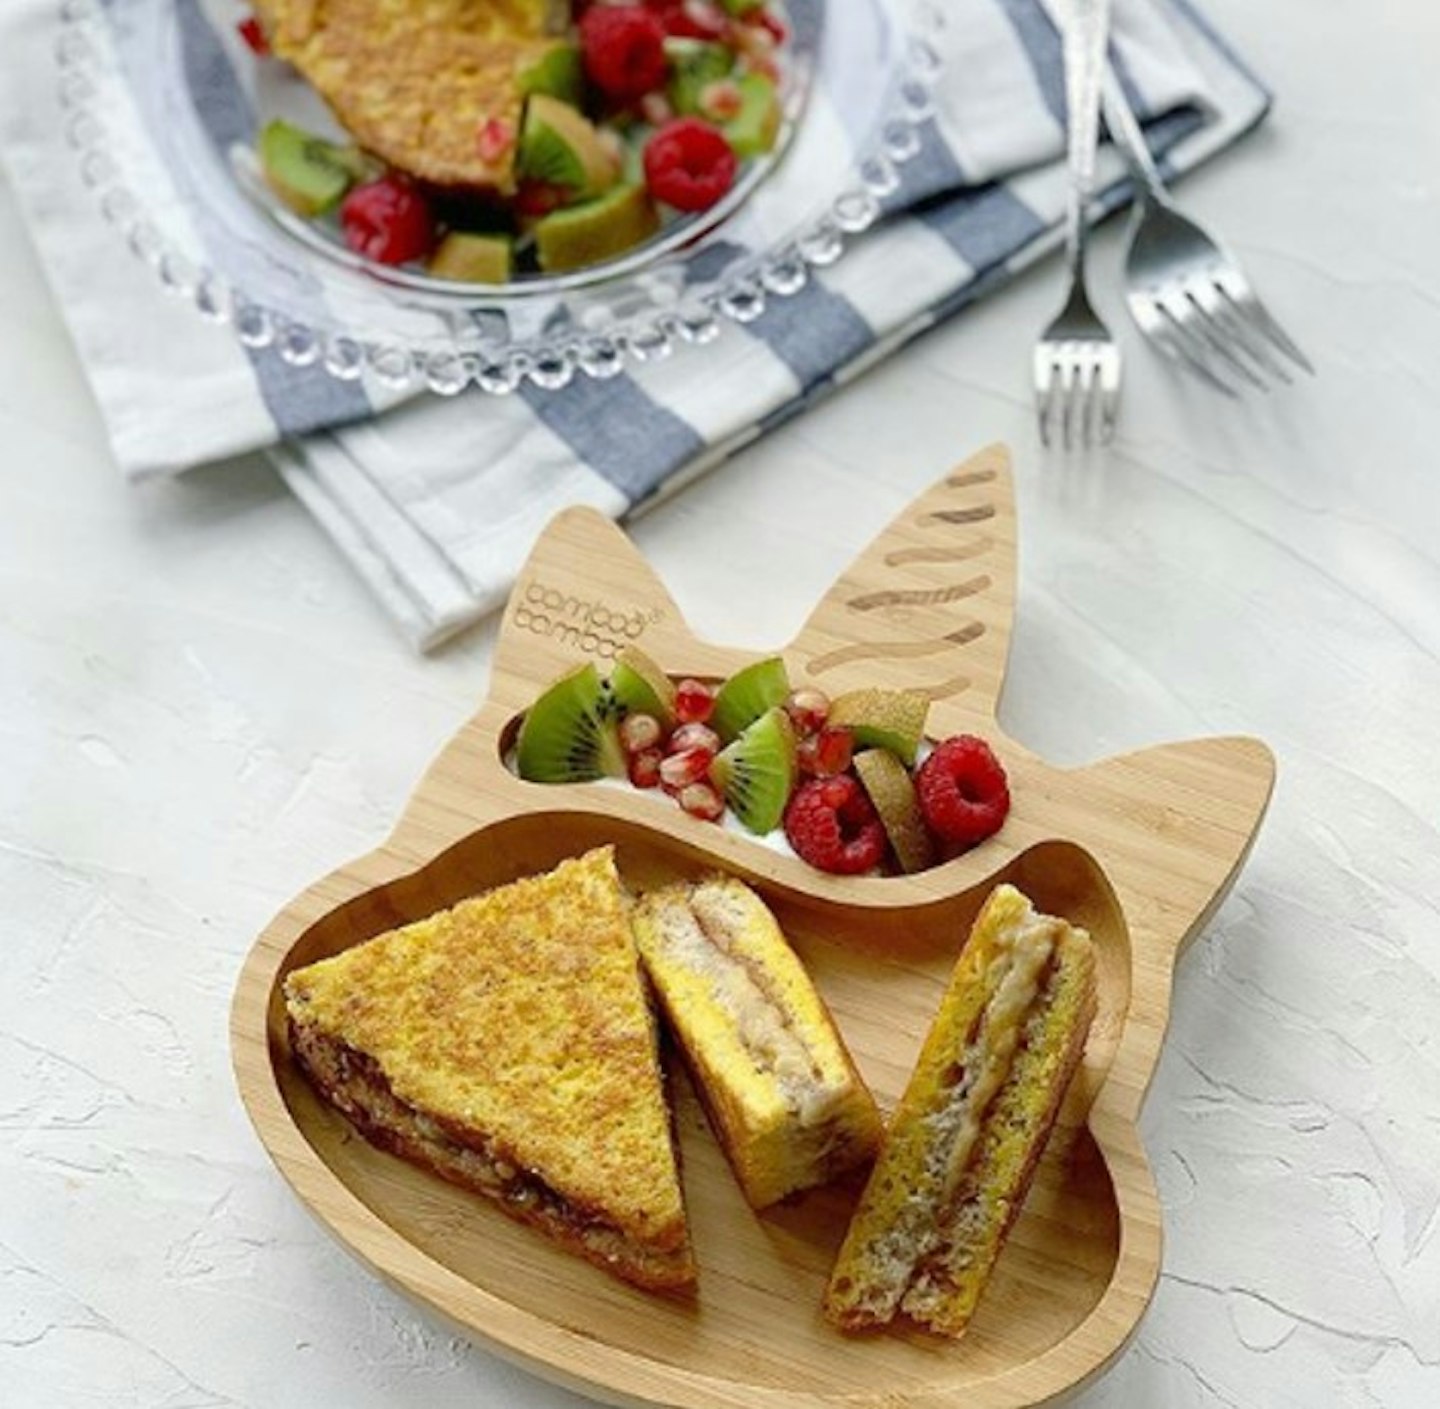
Peanut Butter and Banana Eggy Bread
Liven up your humble eggy bread recipe with banana and peanut butter. This delicious no added sugar recipe from What Mummy Makes will be a winner with little tummies - and maybe even big ones too! It’s packed with healthy fats and it’s suitable for babies from 6 months old.
⠀⠀⠀⠀⠀⠀⠀
⠀⠀⠀⠀⠀⠀⠀⠀⠀
Ingredients: ⠀⠀⠀
• 2 slices of bread ⠀⠀⠀
• 1 small banana ⠀⠀⠀
• 1 tbsp of 100% nut butter (peanut or almond) ⠀⠀⠀
• 2 small eggs (or 1 mashed banana mixed with a little milk) ⠀⠀⠀
• Small knob of unsalted butter ⠀⠀⠀
• Tiny drizzle of cooking oil ⠀⠀⠀
⠀⠀⠀⠀⠀⠀⠀⠀⠀
⠀⠀⠀⠀⠀⠀⠀⠀⠀
Method: ⠀⠀⠀
-
Mash the banana in a flat bottomed bowl with the back of a fork. Spread over one piece of bread. ⠀⠀⠀
-
Spread the nut butter over the other piece of bread then sandwich together. ⠀⠀
-
Crack the eggs into the bowl, whisk then let the sarnie soak up all the egg for a minute or so on each side. ⠀
-
Melt the butter and oil in a non stick frying pan, then add the sandwich. Cook for around 3 minutes on each side, over a medium heat until it has browned nicely. ⠀⠀
⠀⠀⠀⠀⠀⠀⠀⠀⠀
Suitable from 6 months ⠀⠀⠀
Prep: 5 minutes - Cook: 6 minutes ⠀⠀⠀
Can be frozen for up to 3 months ⠀⠀⠀
⠀⠀⠀⠀⠀⠀⠀⠀⠀
 21 of 21
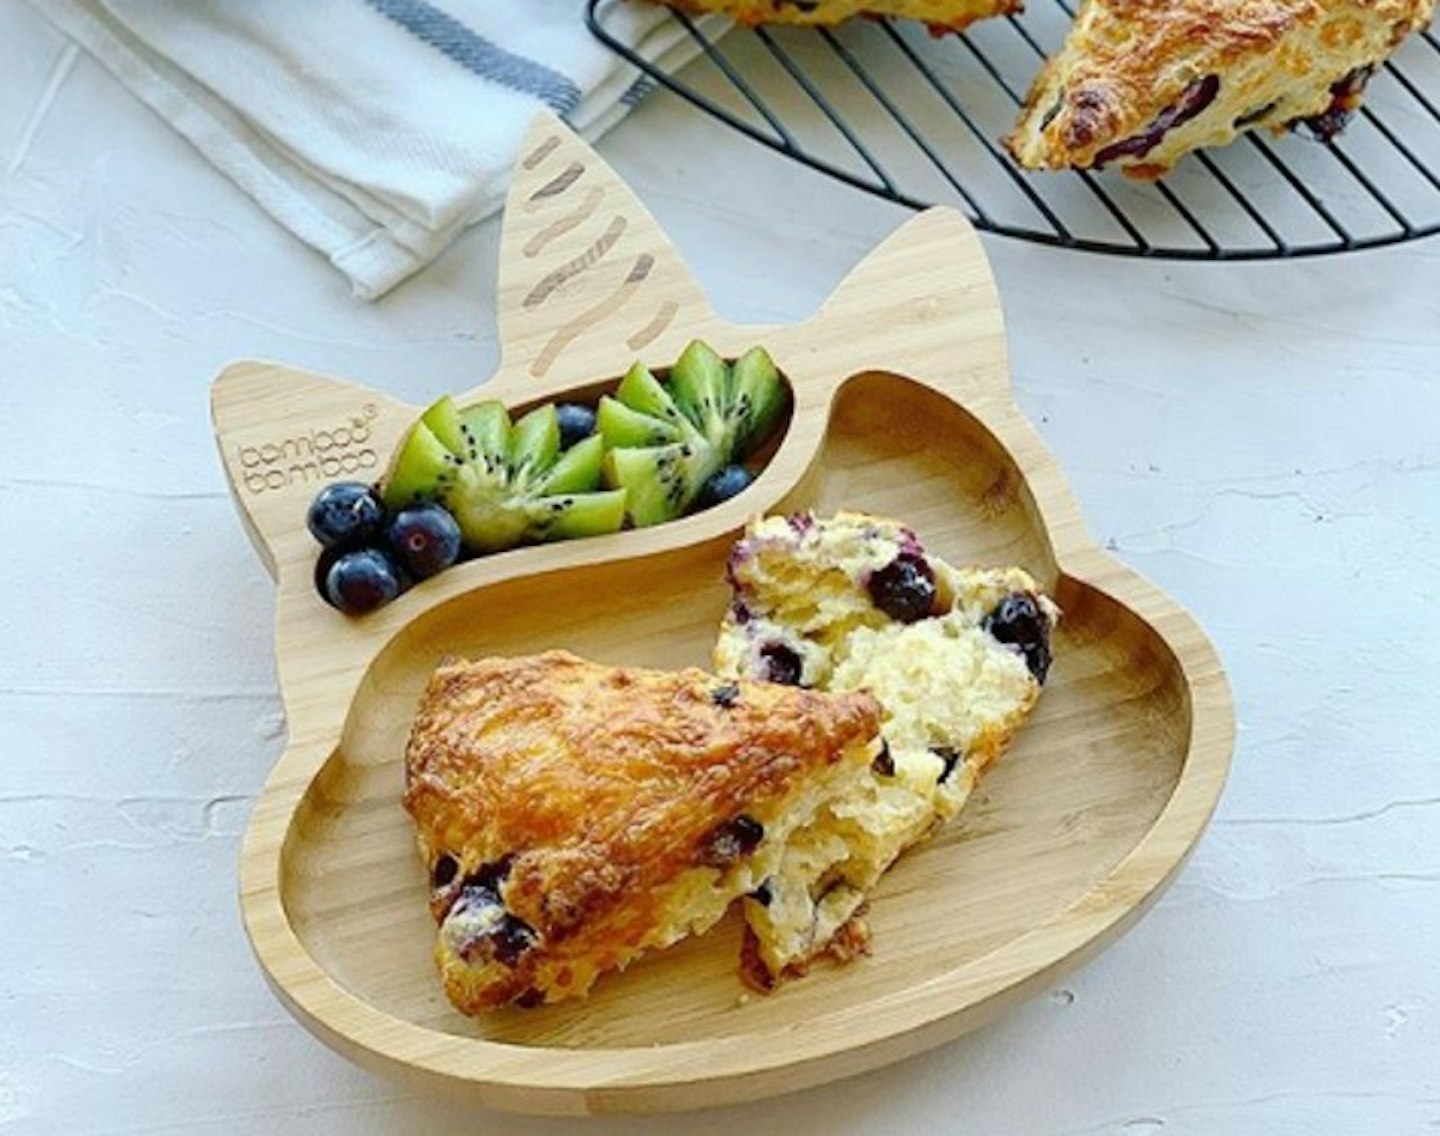
Blueberry Cheese Scones
Whether it’s ‘scooone’ or ‘scon’, cream first or jam first, these blueberry cheese scones from What Mummy Makes are a game changer. A mixture of sweet and savoury, these fluffy cheese scones have bursts of yummy blueberry and they take just 10 minutes to make.
⠀⠀⠀⠀⠀⠀⠀⠀⠀⠀⠀⠀⠀
⠀⠀⠀⠀⠀⠀⠀⠀⠀⠀⠀⠀⠀⠀⠀⠀⠀
Ingredients; Makes 8 large scones ⠀⠀⠀
• 300g of self-raising flour (can use plain with 1.5 tsp of baking powder)⠀⠀⠀⠀
• 50g of cold unsalted butter, cubed⠀(can sub for dairy free butter)⠀⠀⠀
• 150g of grated cheddar cheese (optional to make plain fruity scones) ⠀⠀⠀⠀
• 2 medium eggs (can sub for an additional 115ml of milk - do note the scones won’t be quite as fluffy) ⠀⠀⠀⠀⠀
• 70ml of whole milk (can sub for plant based)⠀⠀⠀⠀
• 150g of fresh blueberries ⠀⠀⠀⠀⠀
⠀⠀⠀⠀⠀⠀⠀
Method; ⠀⠀⠀
- Rub the butter into the flour until it resembles fine breadcrumbs. This will take around 3 minutes. ⠀⠀⠀
- Stir in the blueberries and grated the cheese (reserving a little cheese for sprinkling on top of the scones) ⠀⠀⠀
- In a separate bowl, whisk together the milk and eggs. Now pour this into the dry ingredients reserving a little. ⠀⠀
- Using a round ended knife, mix the wet and dry ingredients together. You want to work the mixture as little as possible. If the mixture is too dry add a splash more milk. ⠀⠀
- Tip the mixture out onto a clean work surface and bring it together to form a flat circle around 2cm thick. ⠀⠀⠀⠀
- Using a knife cut into 8 triangles and transfer to a non stick baking tray. Brush with the remaining egg and milk mixture and sprinkle over more cheese - ensuring not to wash the sides as this prevents a high rise. ⠀⠀⠀⠀
- Bake at 220c/425f fan assisted for 10-15 minutes till risen and golden. ⠀⠀⠀⠀
⠀⠀⠀⠀⠀⠀⠀⠀
Prep: 10mins - Bake: 10-15mins ⠀⠀⠀⠀
These scones are suitable from 6 months. Serve in finger shaped strips.⠀⠀⠀⠀⠀
Baked scones can be frozen for up to three months. ⠀⠀⠀⠀