Ingredients
-
30cm (12”) square cake, 6cm (2”) deep
-
350g (121⁄4oz) cake filling
-
250g (83⁄4oz) chocolate ganache or melted white chocolate
-
Edible glue
-
Sugarpaste (rolled fondant):
-
550g (1lb 31⁄2oz) red 315g (11oz) pale green 300g (101⁄2oz) pale grey 75g (21⁄2oz) black
-
50g (13⁄4oz) beige
-
Modelling paste: 110g (33⁄4oz) white
-
100g (31⁄2oz) golden brown 60g (2oz) dark green
-
50g (13⁄4oz) black
-
40g (11⁄2oz) pale pink
-
35g (11⁄4oz) pale yellow 30g (1oz) yellow
-
25g (just over 3⁄4oz) cream 10g (1⁄4oz) pale red
-
Equipment
-
30cm (12”) round cake board
-
1 x 10cm (4”) and 2 x 2.5cm (1”) long sugar sticks plus a few extra, or lengths of raw, dried spaghetti
-
Square cutter: 4cm (11⁄2”)
-
Small round cutter
-
1m x 15mm width (40” x 5/8”) satin ribbon: green
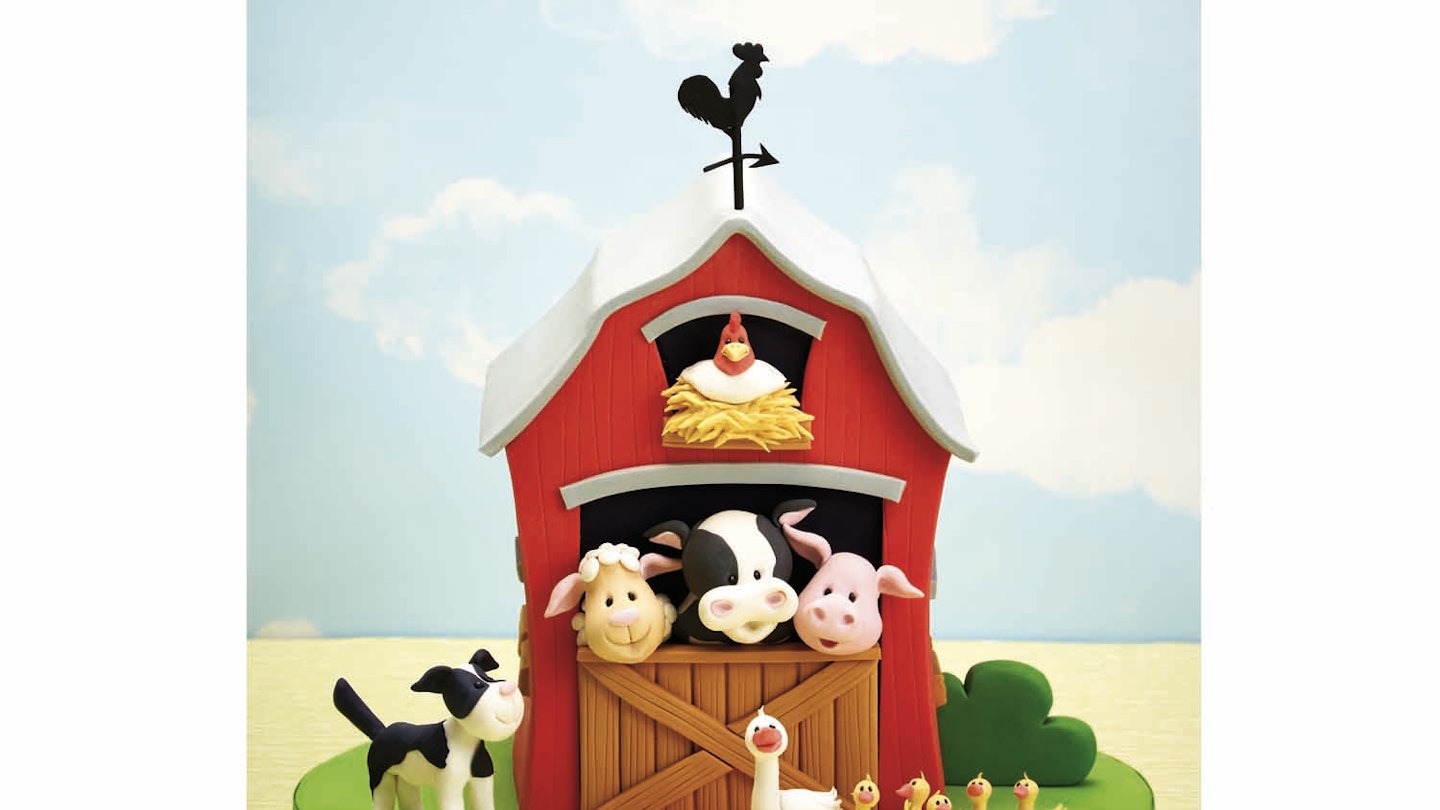
This simple barn with cute farm animals peeking out makes a really lovely centrepiece, without being too time-consuming.
Cake board
1 Cover the cake board with pale green sugarpaste). Smooth over the surface with a cake smoother then press a large rolling pin over the board to create ripples. Trim any excess paste from around the edge and set aside to dry.
Weathervane
2 Roll out the black modelling paste into a thin sheet then use the templates and the tip of a knife to cut out the shape of the weathervane. To support the weathervane, moisten a sugar stick or length of raw, dried spaghetti with a little edible glue and cover it with the rolled-out black modelling paste. Roll over the surface to close the join and cut away 5cm (2”) of paste from the bottom. Stick this support to the back of the weathervane with the uncovered part at the bottom and set aside to dry.
Cake
3 Remove the crust and level the top of the cake. Measure the cake carefully then cut it into four equal squares, cutting it in half and then half again. Stack the squares on top of each other.
4 To shape the roof, measure 2cm (3⁄4”) down each side of the top cake. Starting in the centre of the top cake, curve the knife down and out to this point, creating a rounded groove. Repeat again to make another groove below the first, then cut down slightly further so you remove the top edge of the second layer. Repeat on the opposite side. Trim down the sides of the cake to make them curve inwards slightly.
5 Cut each square cake into two layers then sandwich the cakes back together with cake filling; the total height of the cake should be approximately 20cm (8”). Spread the surface of the cake with softened chocolate ganache, taking care to keep the covering as smooth as possible. To achieve a sharp edge, first coat the opposite sides of the cake up to the roof, then cover the back and front to give the sides time to set.
6 Roll out the red sugarpaste and cut out two pieces big enough to cover the sides of the cake, but only to the bottom of the roof. Cover the front and back in the same way, this time to the top of the roof, then trim the top of the paste to the shape of the roof. Run the tip of a knife vertically over the surface of the sugarpaste to create a woodgrain effect and help disguise the joins.
7 Roll out the grey sugarpaste to a thickness of 3–4mm (1/8”) and cut out a rectangle that is slightly larger than the surface of the roof so there is a slight overhang. Carefully pick up the sugarpaste, taking care not to distort the shape, then place it over the top of the cake and smooth around the shape to define the ridges.
8 Use the templates to cut out the door and the windows at the front of the barn and use the square cutter to cut out the windows on the sides. Roll out some more black sugarpaste into a thin sheet, use the templates again to cut out the door and window shapes and fill the uncovered areas. Trim the top of the barn door and the windows with a thin strip of grey sugarpaste.
9 Roll out the golden-brown modelling paste and cut out a rectangle that is 6cm (23/8”) long and the same width as the barn door opening, using the template as a guide. Press the edge of a ruler evenly over the surface to mark on the wooden planks and stick in place with a little cooled, boiled water or edible glue. Add a strip of golden-brown sugarpaste across the top of the door and two more crossed diagonally over the front and mark on the woodgrain effect as before. Use the trimmings to make the window ledges and secure in place.
Path
10 Roll out the beige sugarpaste and use the template to cut out the shape of the pathway, smoothing around the edge to soften and flatten out the paste. Stick in place at the front of the doorway, trimming any excess from around the cake board edge. Press a small rolling pin across the surface a few times to give it texture.
Hen
11 To make the hen’s nest, roll 20g (3⁄4oz) of pale yellow modelling paste into an oval and snip into the surface with small scissors to create a straw-like texture. Stick in place on the ledge of the top window.
12 For the hen, roll 10g (1⁄4oz) of white modelling paste into an oval and make two indents on either side with the end of a paintbrush to mark the feathers. Stick in place on top of the nest, resting against the window opening.
13 Roll the pale red modelling paste into a ball for the head and pinch out the neck area, bringing it down into a point at the front, then stick in position. Roll a tiny pale red sausage for the comb and make two indents in it with the end of a paintbrush. Use yellow modelling paste to make a pointed teardrop shape for the beak and snip just underneath the point to separate the top and bottom. Mark the nostrils using a cocktail stick and add two tiny ovals of black modelling paste for the eyes.
Cow
14 Make a flattened teardrop from 10g (1⁄4oz) of white modelling paste for the shoulders, stick it against the barn door opening and add a small, flattened black patch. Roll 35g (11⁄4oz) of white modelling paste into a rounded teardrop for the head, using the fuller part as the top. Push a bone tool into the narrower end to open the mouth and pull it down gently. For the patch, roll out a pinch of black modelling paste and attach it to the head so it covers one eye. Shape two black teardrops for the ears, make an indent in each one with a bone tool then add a small, flattened teardrop of pink modelling paste in the centre. Attach to either side of the cow’s head.
15 For the muzzle, roll 5g (just under 1⁄4oz) of white modelling paste into a small sausage, make a slight indent in the centre to narrow it then push a bone tool into each rounded end. Add two pink teardrop shapes on either side and push into the paste with a bone tool again. Stick the muzzle in position so it just covers the top of the mouth area and secure with edible glue. Add two tiny black ovals for the eyes.
Sheep
16 Roll 5g (just under 1⁄4oz) of cream modelling paste into a ball for the shoulders and flatten it slightly. Stick it against the barn door opening to the left of the cow. Roll 20g (3⁄4oz) of cream modelling paste into a teardrop shape for the sheep’s head then indent the mouth with a small, round cutter. Make a line from the mouth to the nose area with the back of a knife. Push the end of a paintbrush into the bottom of the mouth and pull down gently. Indent two eye sockets with the end of a paintbrush and add two tiny ovals of black modelling paste for the eyes.
17 Roll several small balls of white modelling paste for the woolly coat and flatten them down. Stick them over the top of the head and cover the shoulders. Roll an oval of pale pink modelling paste for the nose and make two ears in the same way as for the cow, but omit the pink centres.
Pig
18 Roll 5g (just under 1⁄4oz) of pale pink modelling paste into a ball and flatten slightly for the pig’s body. Stick in position against the barn door. Roll 20g (3⁄4oz) of pink modelling paste into a rounded teardrop for the head, open the mouth in the same way as for the cow then stick in position with a little edible glue. Model a small triangular snout, round off the edges and indent the nostrils with the end of a paintbrush. Indent two eye sockets using the end of a paintbrush and add two tiny ovals of black modelling paste for the eyes. Use the leftover pale pink modelling paste to make the ears in the same way as for the sheep.
Dog
19 Roll 20g (3⁄4oz) of white modelling paste into a fat sausage and pinch out the legs, gently rolling out each one to the same length. Bend the end of each leg forward slightly to make the paws. Carefully pinch out the neck then insert a sugar stick into it and secure with a little edible glue. Set aside to dry.
20 For the dog’s head, roll 10g (1⁄4oz) of white modelling paste into a rounded teardrop, then make the mouth and nose in the same way as for the sheep.
21 When the body is dry, roll out some black modelling paste into a thin sheet, cut out several patches and stick them over the body. Indent the eye area with the end of a paintbrush and add two tiny ovals of black modelling paste for the eyes. Model a long, tapering sausage of black paste for the tail, push a sugar stick into the end and insert it into the dog’s back. Make two ears from black modelling paste in the same way as for the sheep.
Mother duck and ducklings
22 Use 10g (1⁄4oz) of white modelling paste for the mother duck’s body and split the remaining yellow modelling paste into five equal pieces for each duckling. Roll the white modelling paste into a ball for the mother duck then gently pinch up the neck and round off the head. Stroke the opposite end of the body to create the tail feathers, curving them upwards. Lay the shape flat until the neck has firmed up, then stand it up and leave to dry completely. Make the ducklings’ bodies in the same way.
23 Model flattened teardrop shapes for the wings, cut into the pointed end with a knife and secure to the sides of the duck. Roll a small teardrop of orange modelling paste for the beak and stick the rounded end to the bottom of the face. Use small scissors to snip just below the point of the beak to open it up. Indent eye sockets with the end of a paintbrush and add tiny ovals of black modelling paste as before. Add a small teardrop or two of white modelling paste to the top of the duck’s head to make a tuft of feathers. Alternatively, you can snip into the top of the head with small scissors to make the tuft. Roll two tiny teardrops from orange modelling paste, cut twice into the rounded end to make webbed feet and secure to the bottom of the duck’s body.
24 Make the ducklings in the same way using yellow modelling paste, but omit the feet.
Finishing touches
25 Push the weathervane down into the roof and secure with a dab of edible glue.
26 Roll out the dark green modelling paste, leaving it quite thick. Push the back of a knife into the top of the paste twice to make the shape of a bush, moving the knife back and forth to open up a V-shape. Cut the bottom and one side of the paste straight then stick the bush in place against the side of the barn.
27 Trim the edge of the cake board with green ribbon to finish
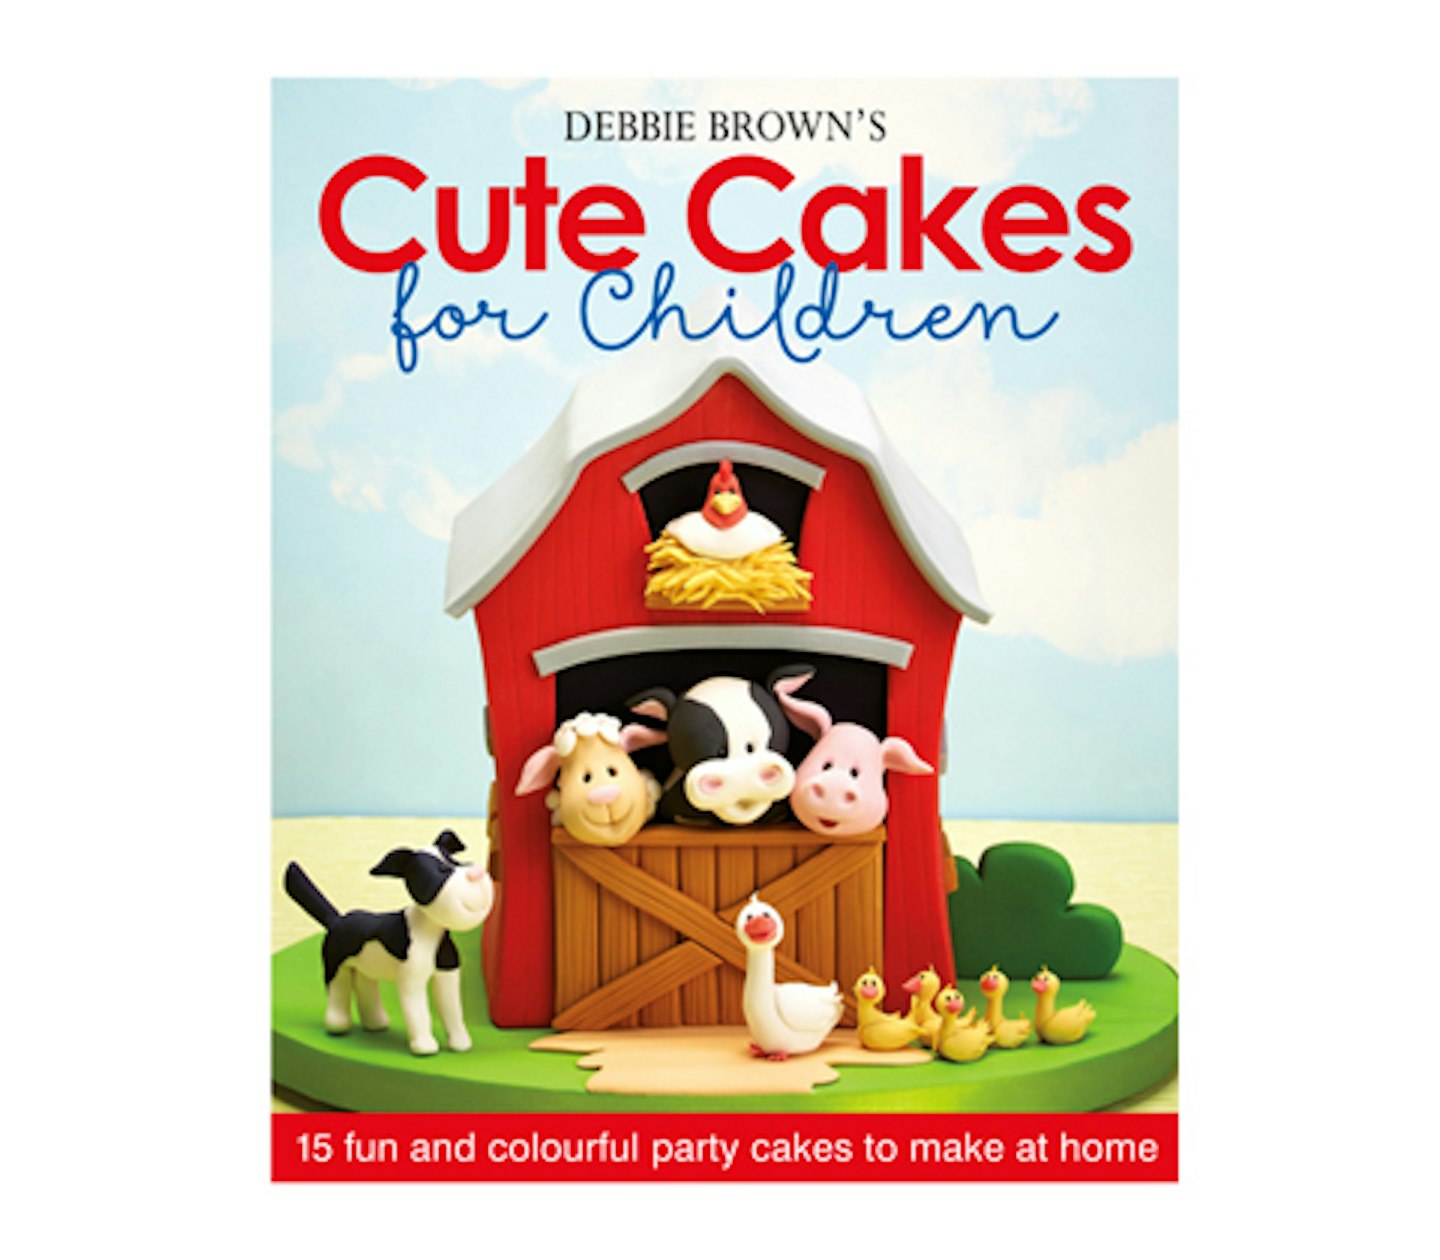
This extract is taken from Cute Cakes for Children by Debbie Brown (B. Dutton Publishing, RRP £19.99). You can find further details about the edibles and equipment used in this project in the book.